Maps
Status Maps
The status map is created automatically and displays all hosts together with their status information.
By clicking on a host, you can see a pop-up display showing the status of the services.
Parent-child relationships can be displayed by clicking on "View parent-child relationships".
Automap
An automap shows hosts and services based on a self-defined filter.
Creating automaps
To create an automap, first click on the "New" button in the "Automap" overview.
Select a container and assign a name for your automap in the form that appears.
You can also select the field recursively. By selecting this option, the hosts that exist below the selected container are also included.
Next, set the filters that will be used to decide which hosts and services will be displayed.
These consist of one regular expression each for the host and service filter.
You can now determine which status will be displayed as well as how it should be displayed. In the lower right-hand corner of the screen you will see a preview of the selected display options.
| Field | Required | Description |
|---|---|---|
| Container | Container in which the automap is to be created | |
| Name | Name of the automap | |
| Description | Description of the automap | |
| Host regex | Host filters as regular expressions | |
| Service regex | Service filters as regular expressions |
Map Module CE
The Map Module is a freely available extension in openITCOCKPIT. It offers you the ability to visually display monitored objects and provide these with your own backgrounds. For example, a site map or server rack can be directly provided with monitored objects or sub-maps.
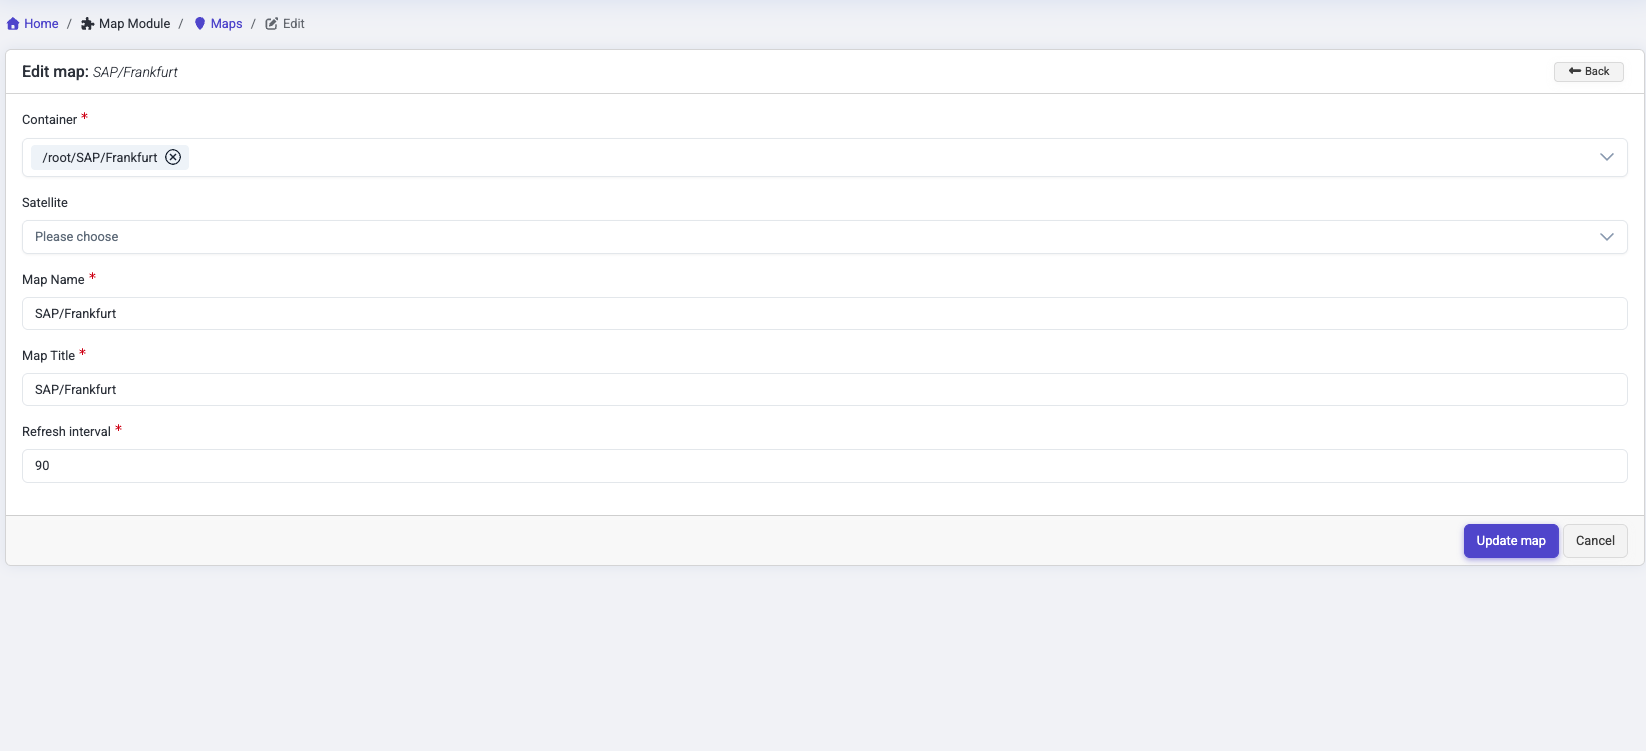
Creating a map
A map needs to contain information before it can be visually processed.
To create your map, first select at least one container in which the map should be available.
After that, you can assign the map a name and title.
The Update Interval field defines the interval in seconds during which a map is to be updated in the map view.
| Field | Required | Description |
|---|---|---|
| Container | Container in which the map is to be created | |
| Satellite | Satellite system on which the map is to be created | |
| Map name | Map name | |
| Map title | Map title | |
| Update interval | Determines the interval in seconds during which the map will update your elements |
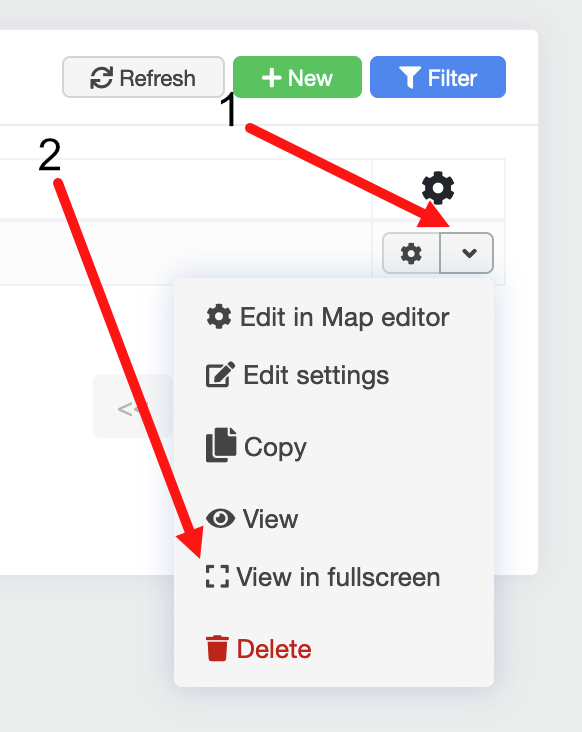
Editing maps
Hat man ein Karten Grundgerüst erstellt, kann die visuelle Bearbeitung erfolgen.
Dazu klickt man neben das Zahnradsymbol der entsprechenden Karte (1) und anschließend auf "Bearbeite im Karteneditor" (2)

Now you are in the map editor and can perform various actions using the side menu.
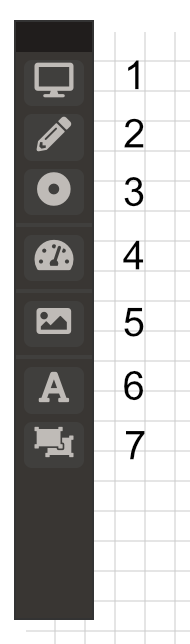
- 1. Items
Items can be hosts, services, host groups or service groups. You can also link other maps.
Items are displayed using icon sets. You can also use your own icon sets
- 2. Lines
Lines can be hosts, services, host groups and service groups, maps and simple status-less lines.
- 3. Summary status element
The summary status element is composed of several monitored objects.
Depending on the object selected, this can be one host and at least one service or several hosts and several services.
- 4. Gadgets
Gadgets can be a variety of differing display elements. For example, these can be graphs, speedometers, traffic lights or similar.
They differ from the previous elements in that a gadget can only ever be a service, as it must always be based on performance data.
- 5. Changing the background image
Here you can upload and add or remove background images for your maps.
- 6. Adding text
With this tool you can insert text into your map.
- 7. Icons
Here you can upload icons and place them in your map. The difference here to items is that these icons do not show a status.
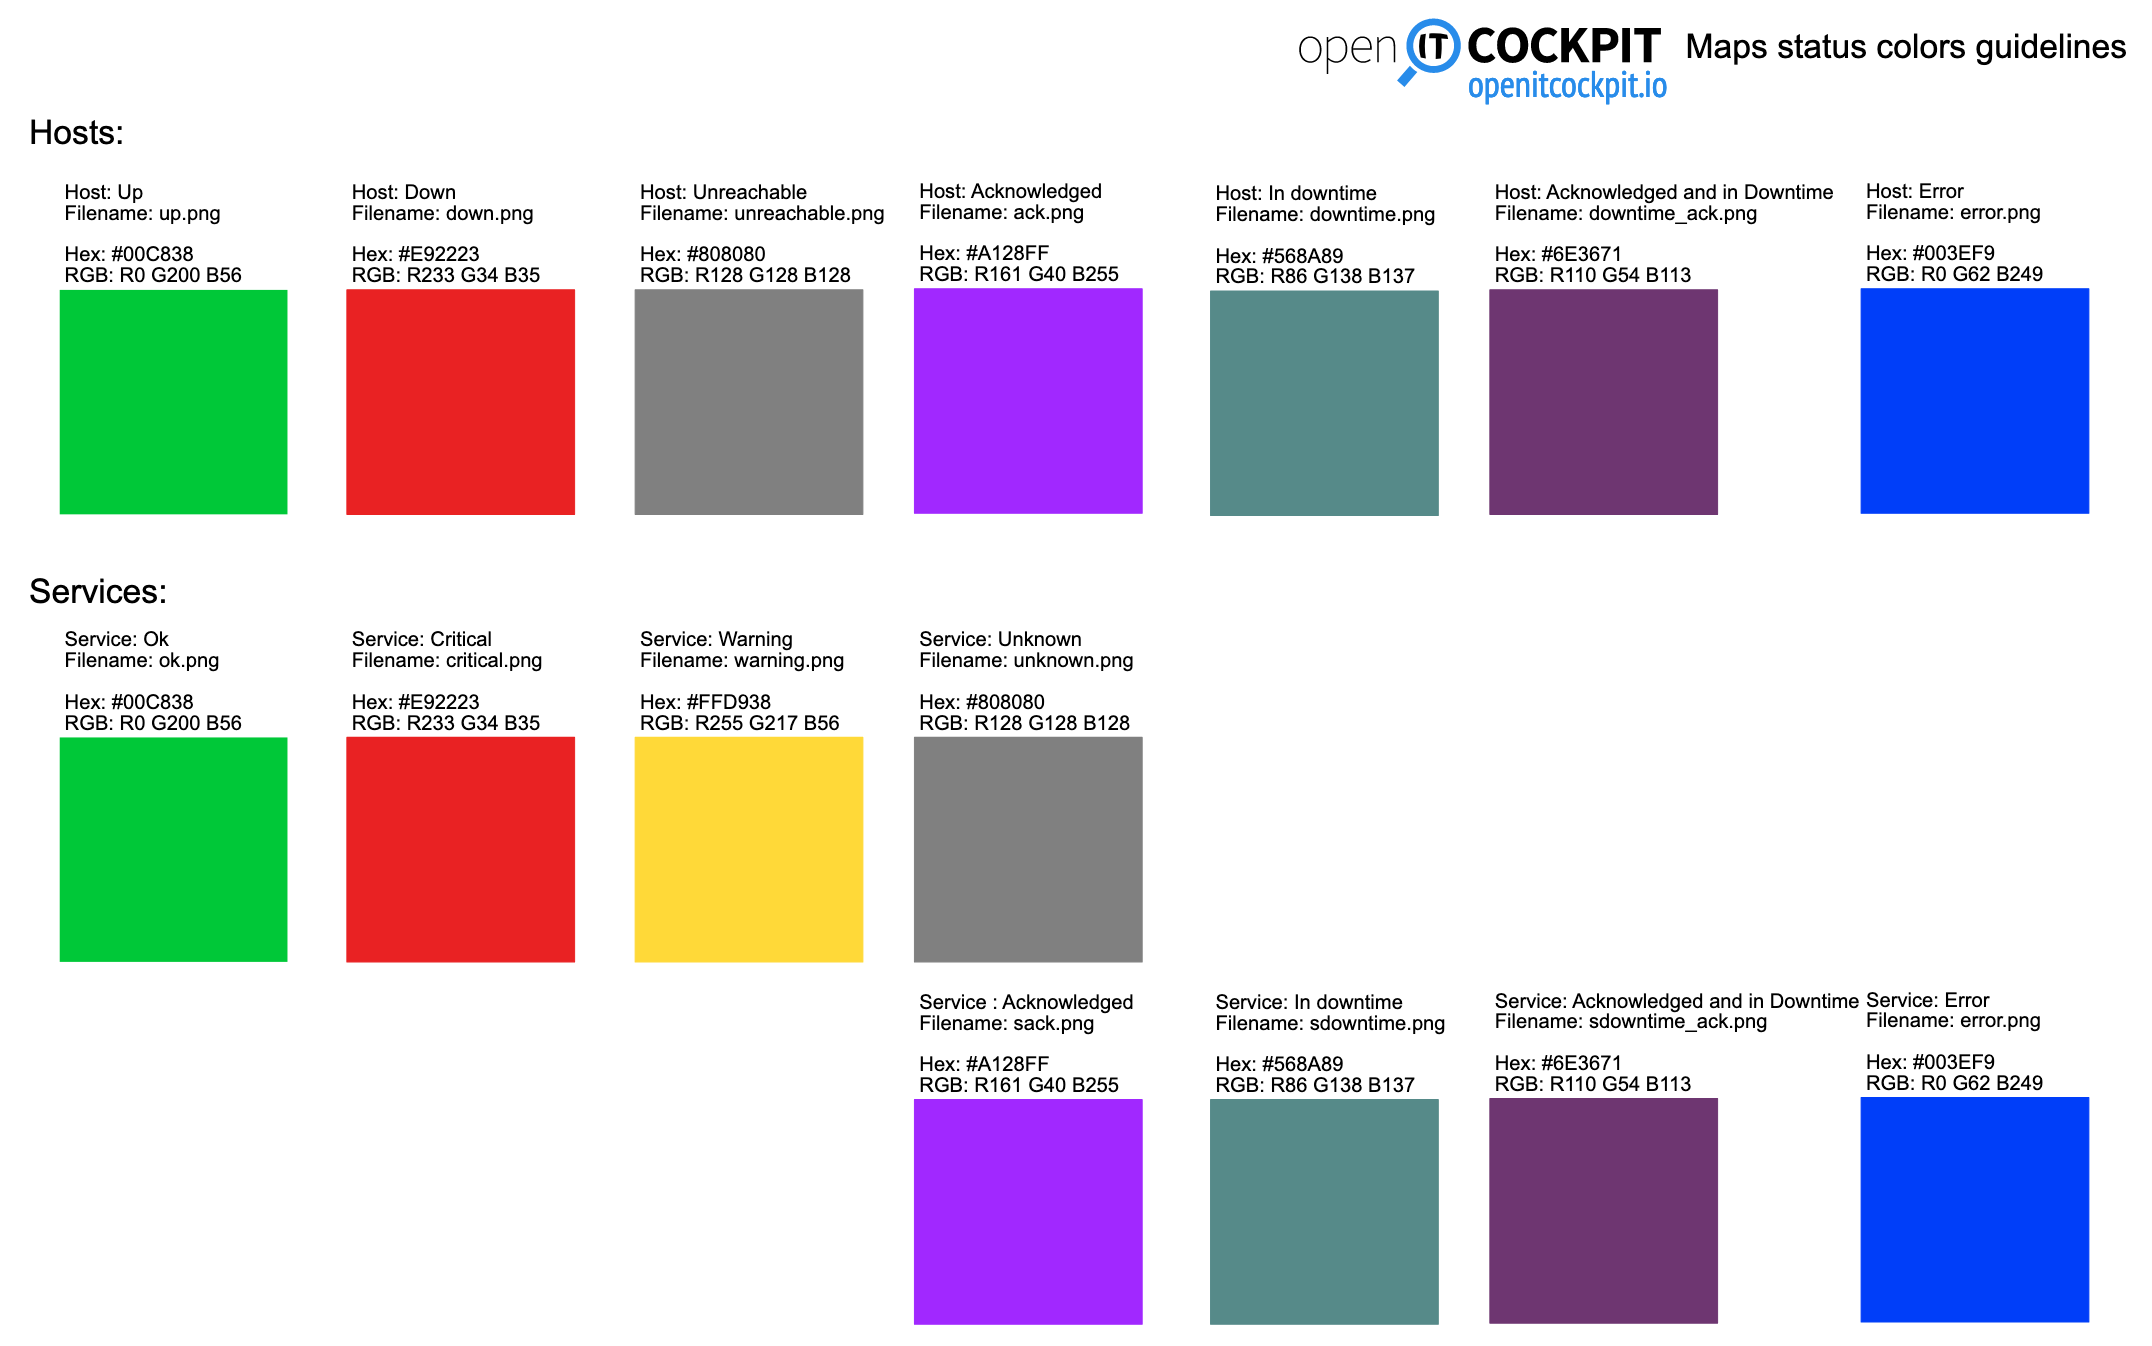
Adding your own items / icon sets
To upload your own icon set, you must first compress all the required icons into a ZIP archive. All icons must be PNG images. Required icons:
| Icon | Beschreibung |
|---|---|
| up.png | Host status up |
| down.png | Host status down |
| unreachable.png | Host Status unreachable |
| ack.png | Confirmed host status |
| downtime.png | Host downtime |
| downtime_ack.png | Host confirmed and in downtime |
| error.png | |
| ok.png | Service status ok |
| warning.png | Service status warning |
| critical.png | Service status critical |
| unknown.png | Service status unknown |
| sack.png | Confirmed service status |
| sdowntime.png | Service downtime |
| sdowntime_ack.png | Service confirmed and in downtime |
The following colour guidelines can be used for this purpose.
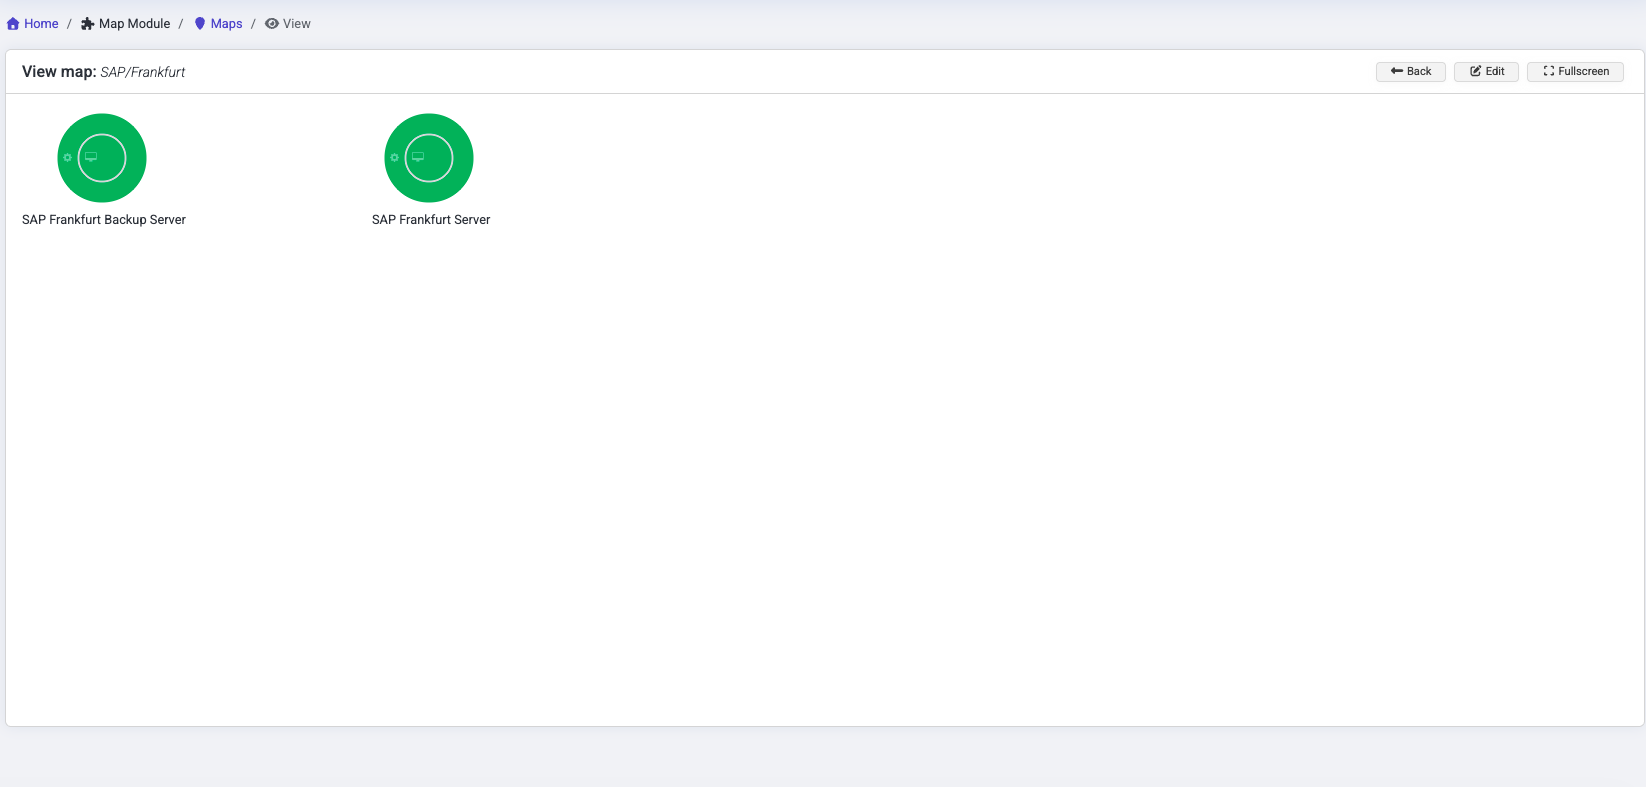
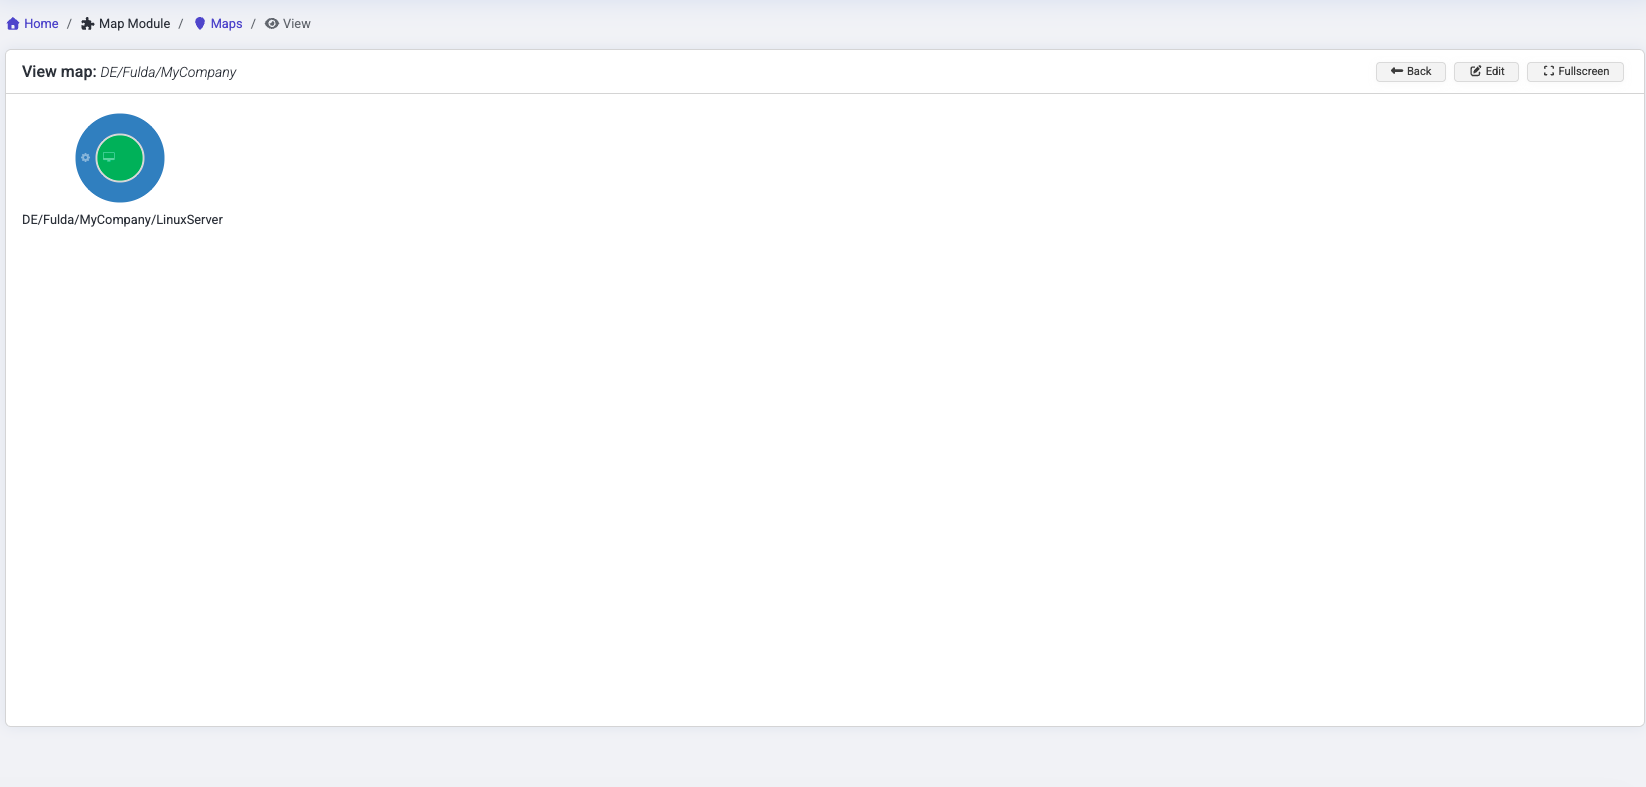
Show maps
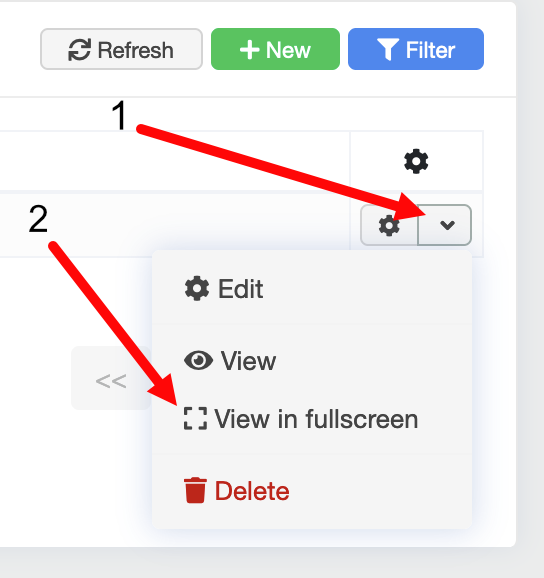
There are two possible map views for the map module in openITCOCKPIT. The first option is the "normal" view mode. To enable this mode, click on the menu for the corresponding map (1) in the map overview and then select "Show".

To get to full screen view, open the menu for the corresponding map in the map overview (1) and then select "Show in full screen" (2).
This view is suitable for displaying on a TV set, etc.
Rotations
Map rotations display an alternating, predetermined number of maps at a set interval.
Rotation erstellen
To create a rotation, click in the main menu Maps → Rotations.
Then click on the "New" button in the overview.
In the form, select the appropriate containers and assign a name for the rotation.
You can now set the rotation interval. This determines the time in seconds that a map is visible before it is replaced by the next map.
Finally, select the maps to be rotated.
| Field | Required | Description |
|---|---|---|
| Container | Container in which the rotation is to be created | |
| Rotation name | Name of the rotation | |
| Rotation interval | The interval at which the selected maps should be rotated | |
| Maps | Maps that should be rotated |
Display rotations
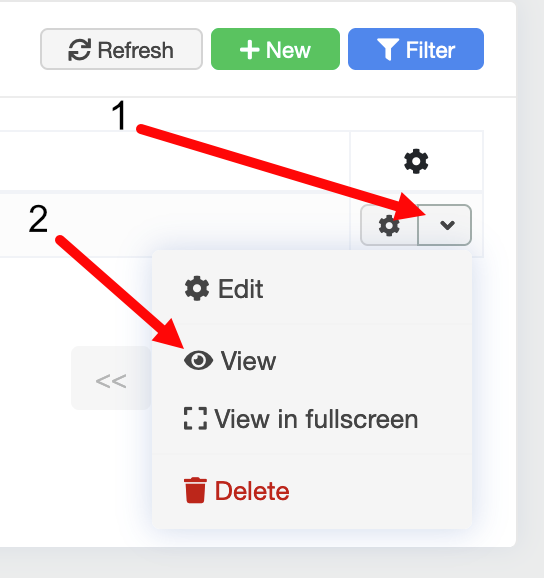
As with the map module, there are two viewing modes for displaying rotations. For the "normal" mode, first click on the menu for the corresponding rotation (1) and then on "Display" (2)
If you want to view the rotation in full screen mode, first click on the menu (1) for the corresponding rotation and then on the button "Show in full screen" (2).
Wenn Sie die Rotation im Vollbild modus anschauen möchten, klicken Sie wieder zunächst auf das Menü (1) der entsprechenden Rotation und anschließend auf die Schaltfläche "Im Vollbild anzeigen" (2)
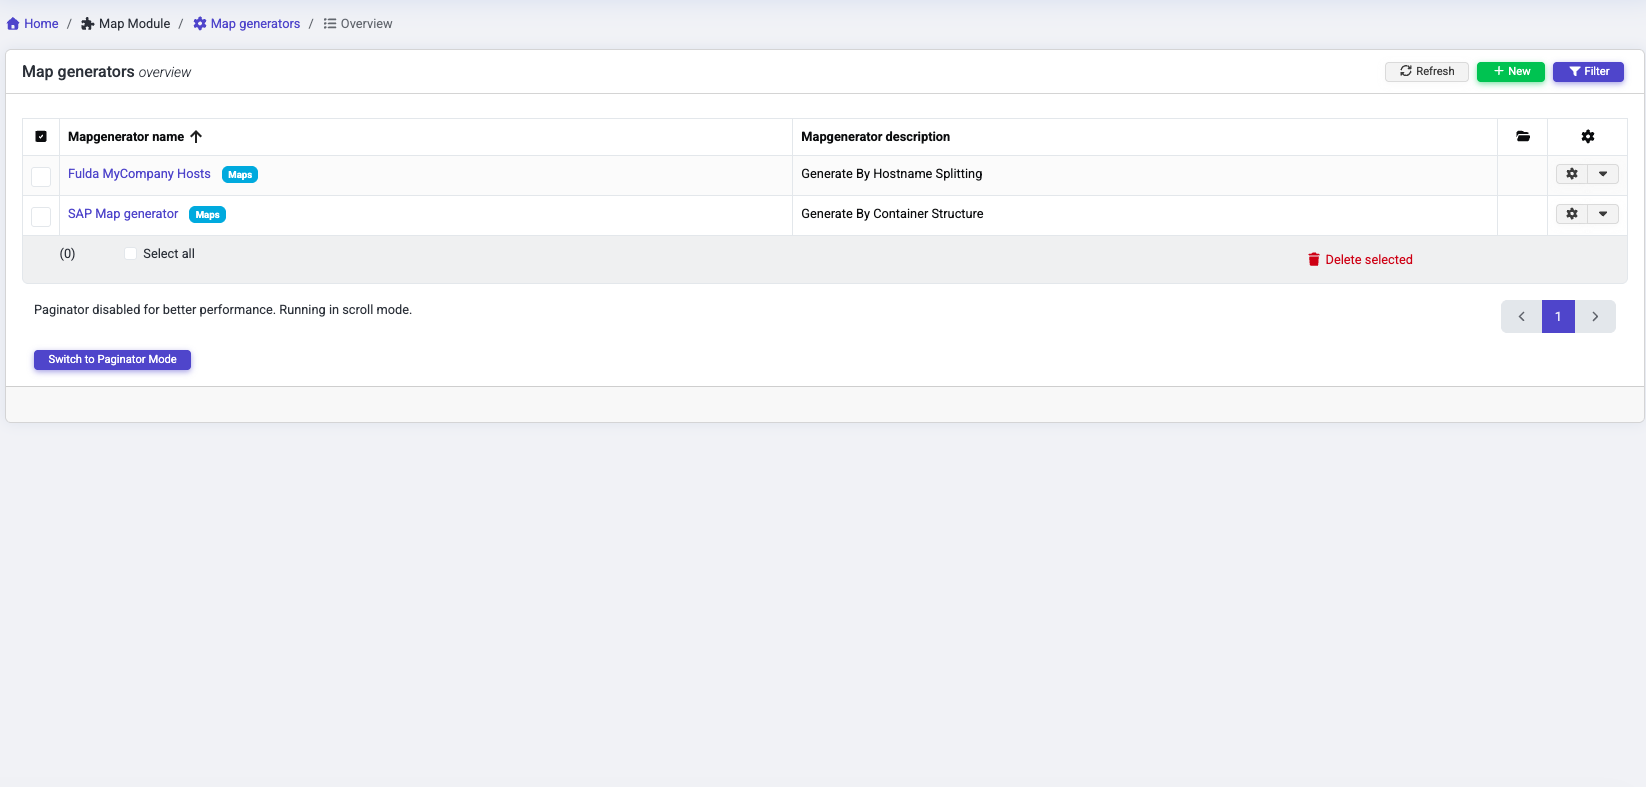
Map generators
Map generators can automatically create maps with summary items.
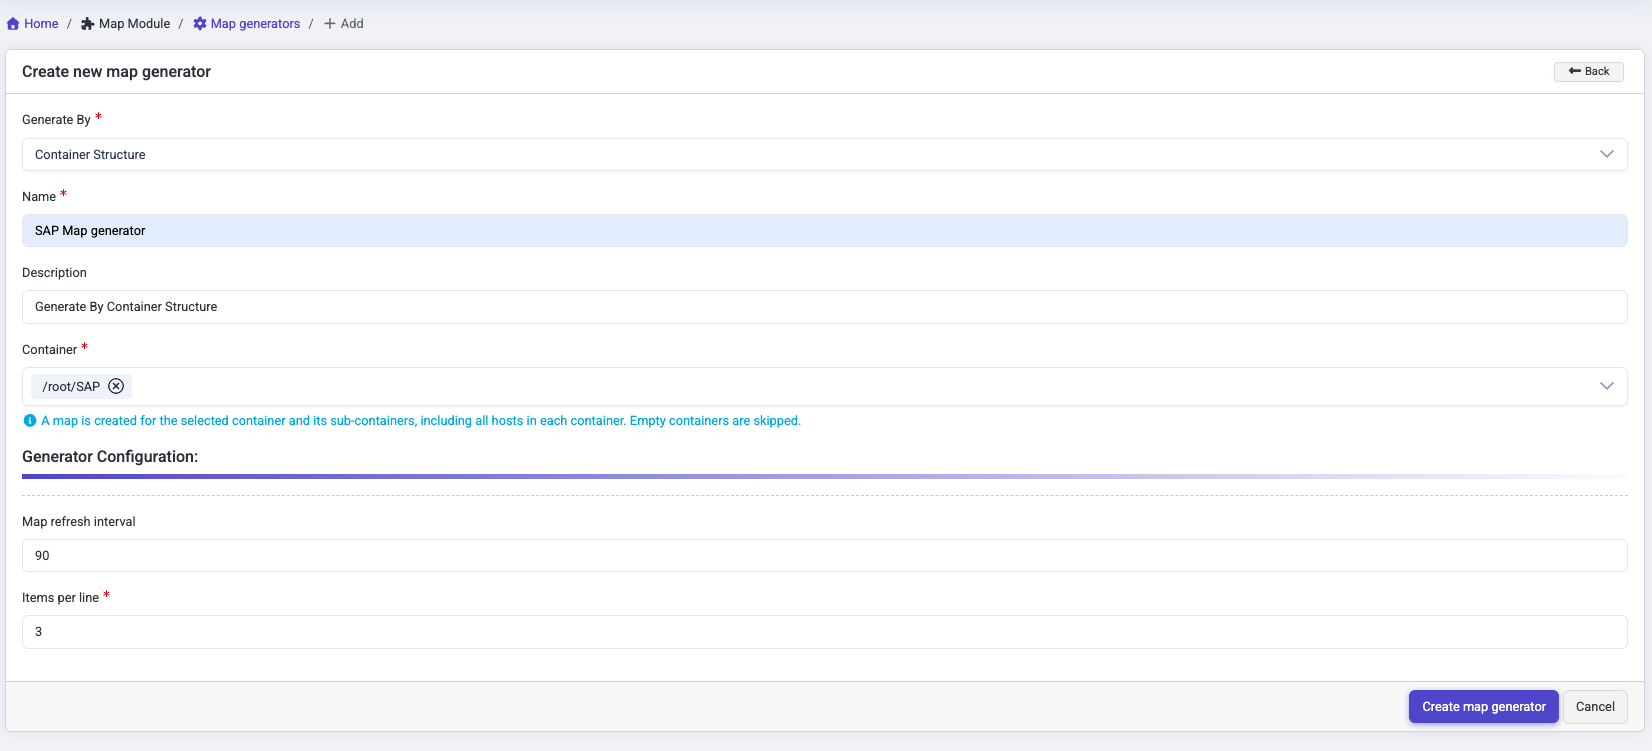
Generation through container structure
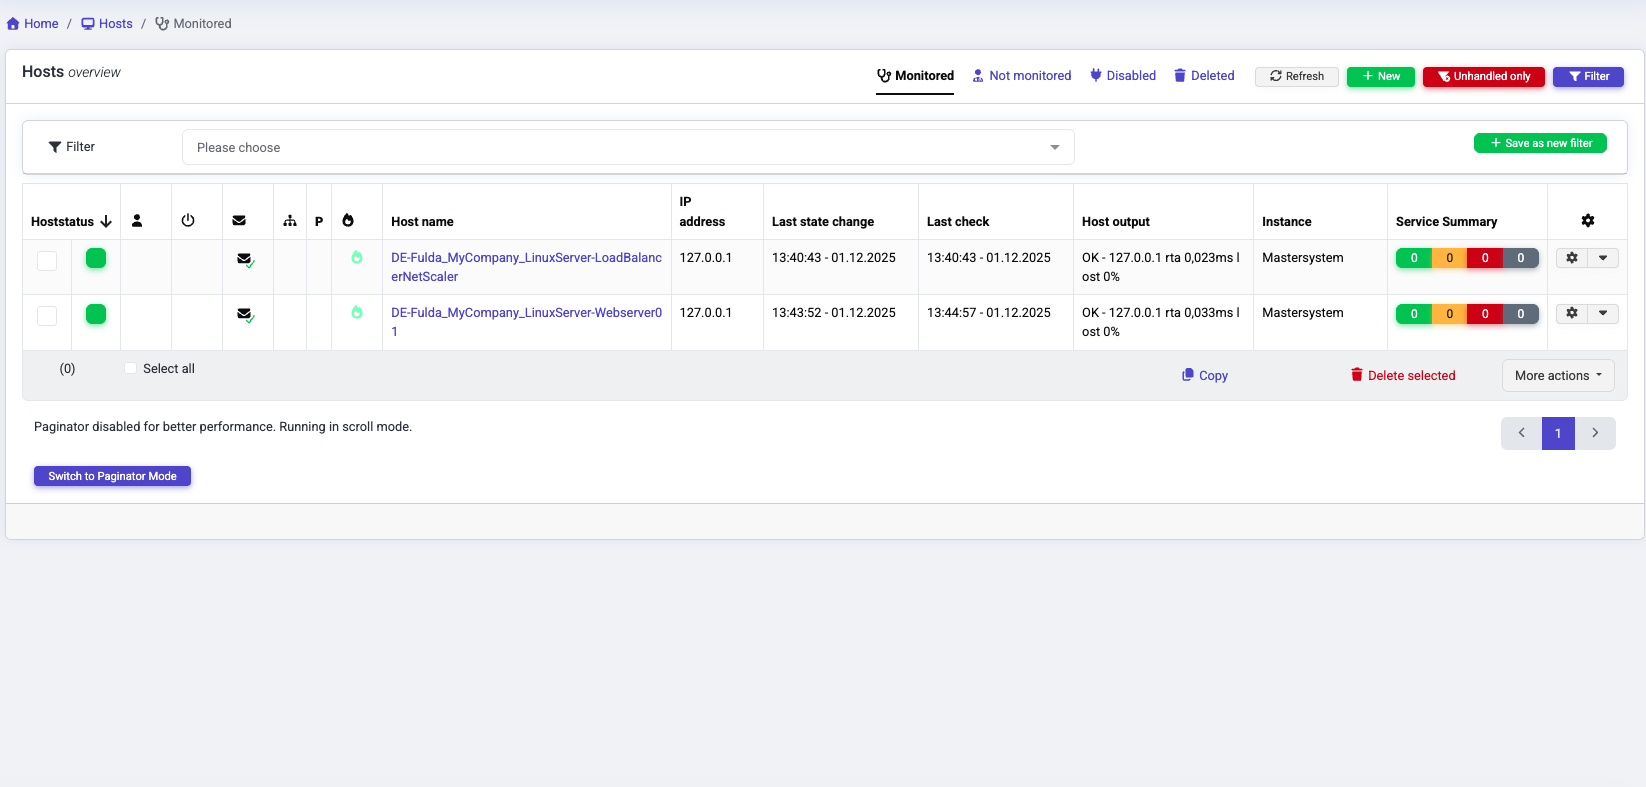
The containers specified when creating the generator, as well as its subcontainers to which the user has write access, and hosts serve as the starting point for generation.
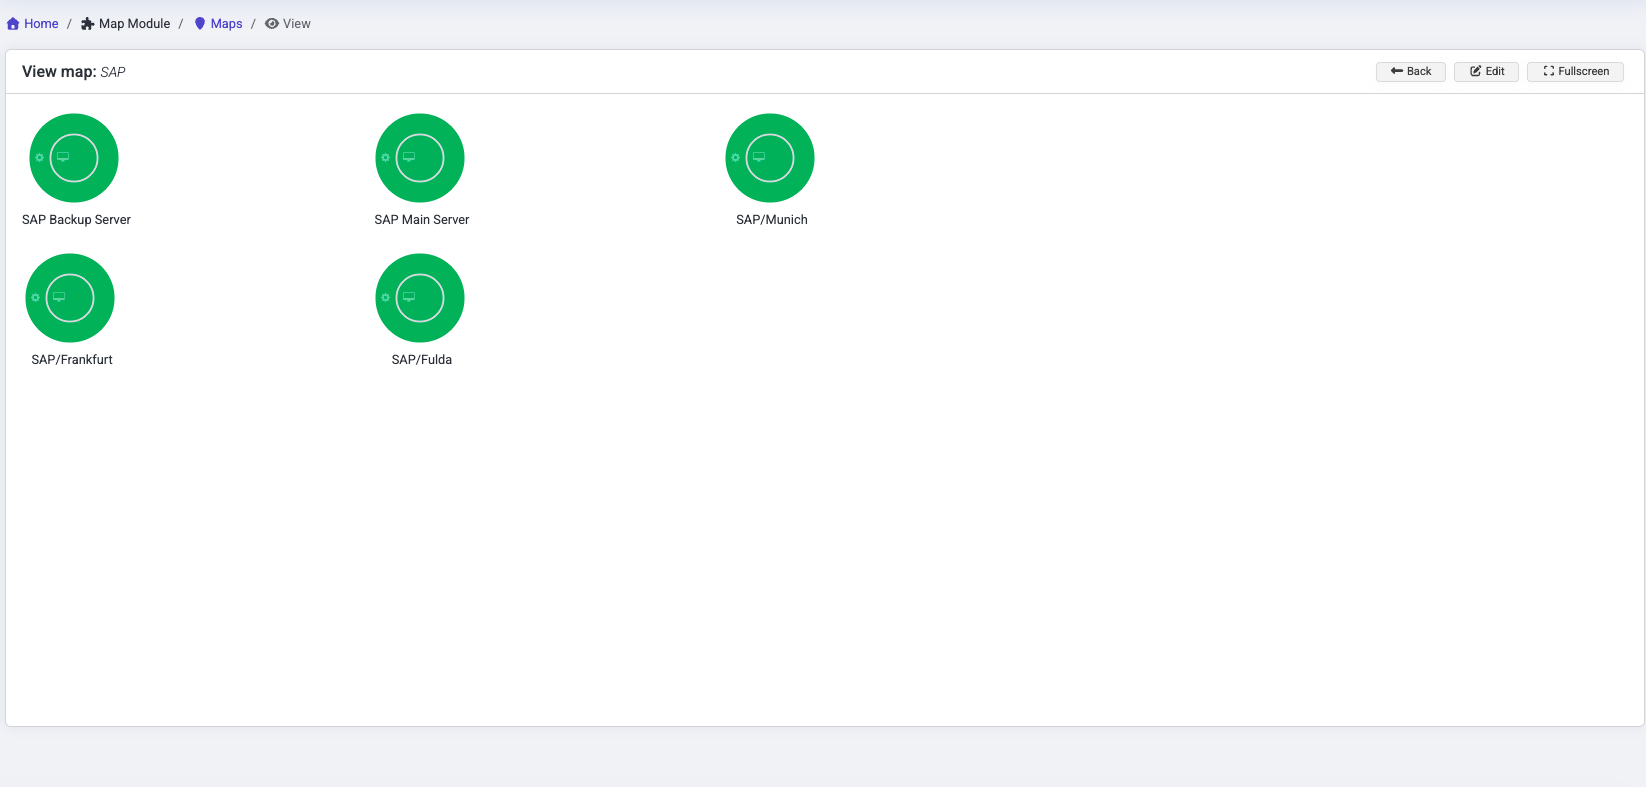
 The generation displays the container structure and its hosts in the form of maps.
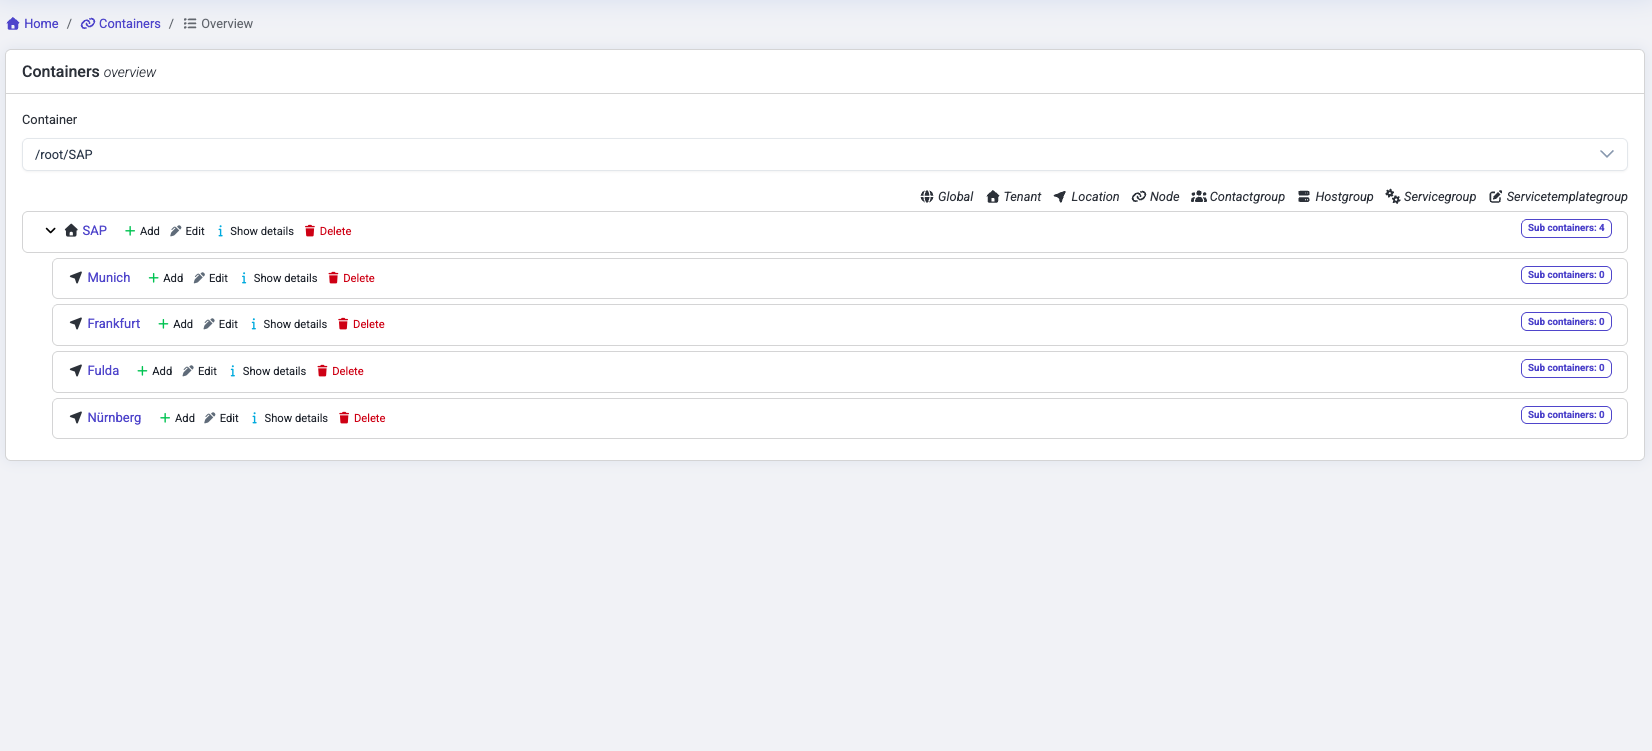
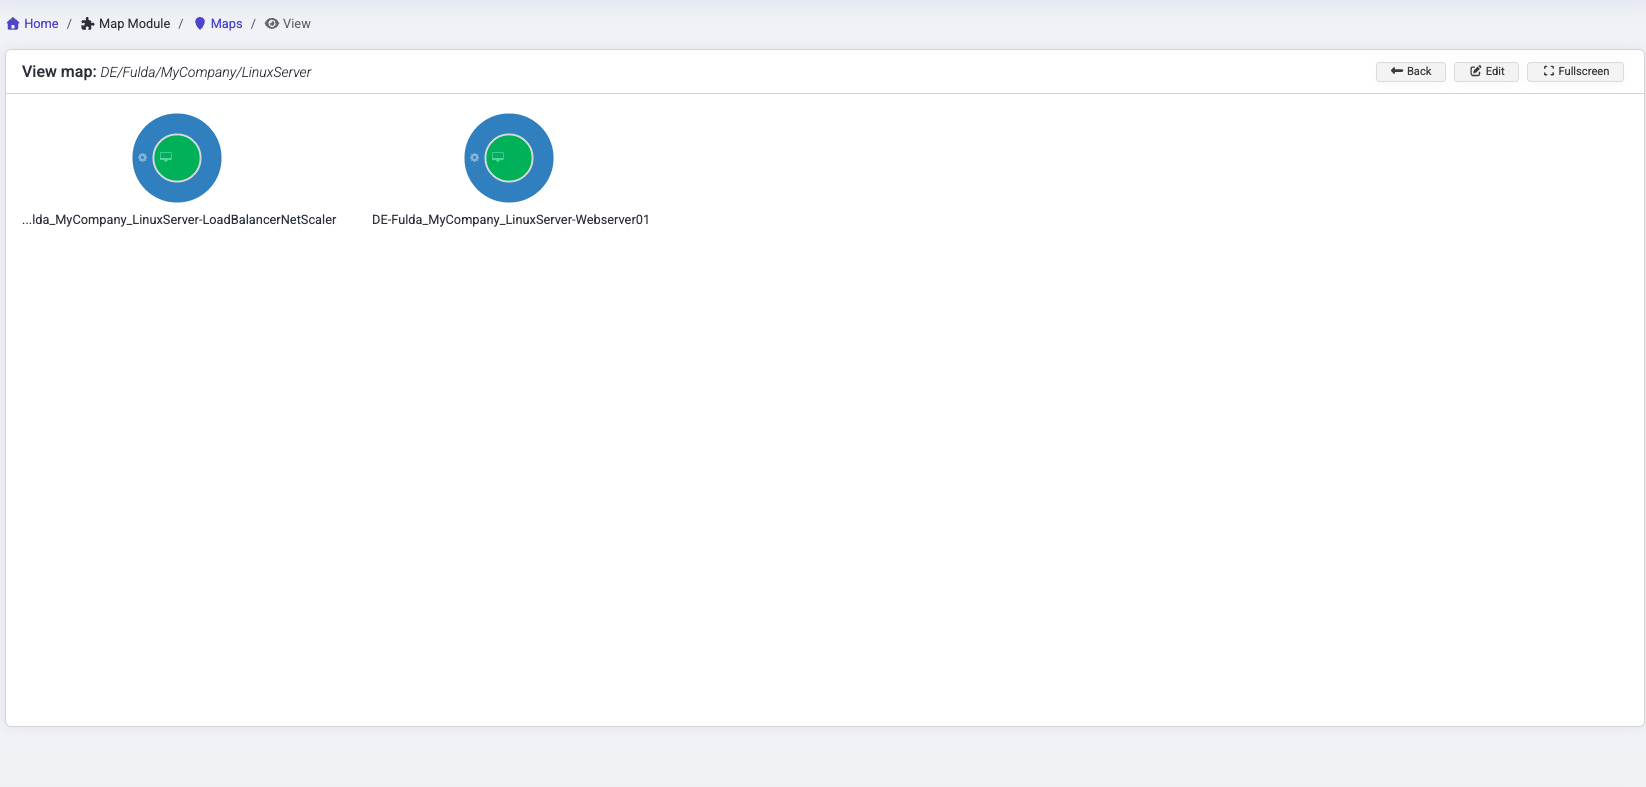
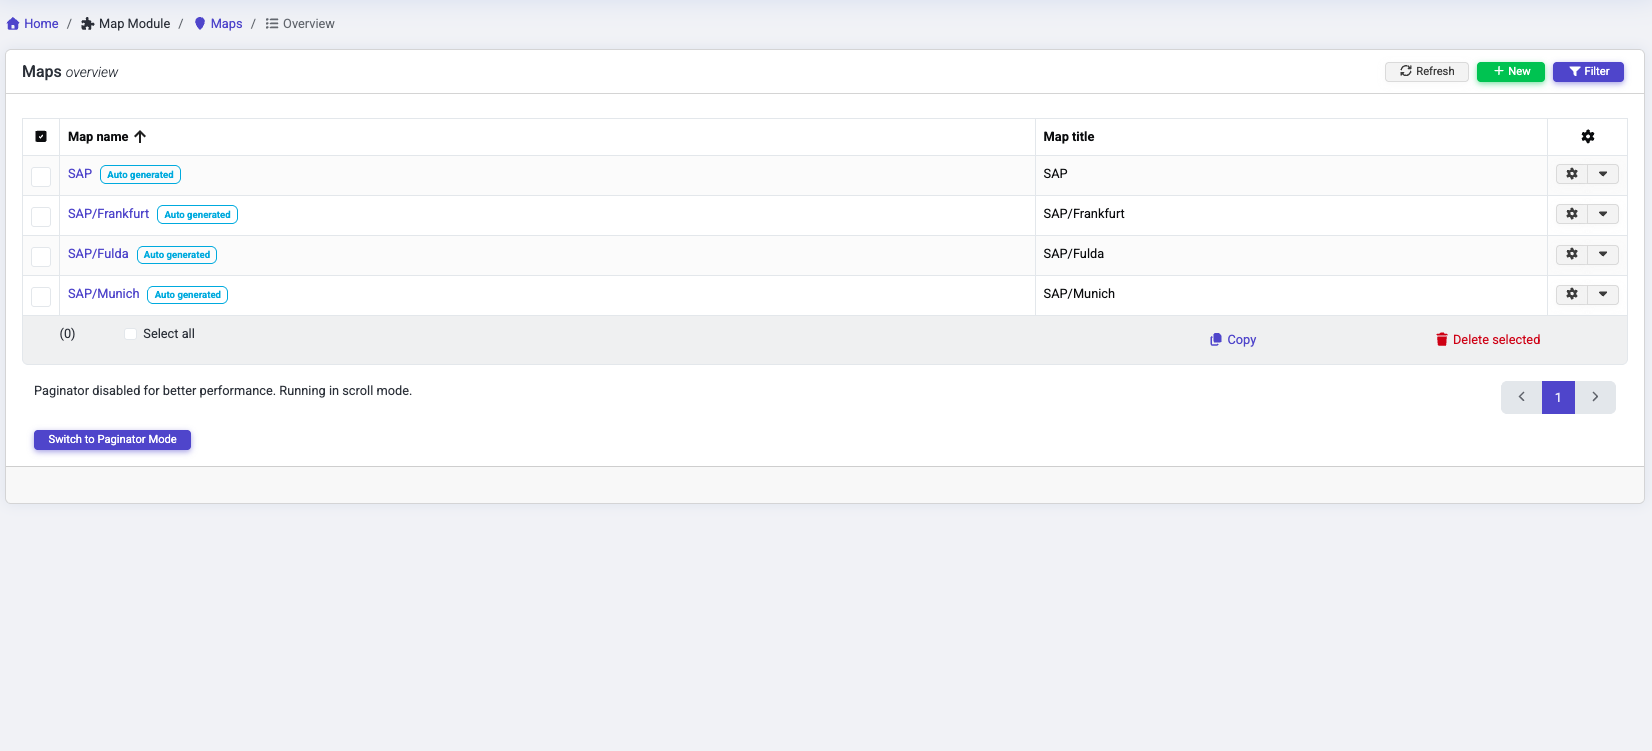 A map is created for each of these containers. Maps/containers that are lower down in the container hierarchy are added to the maps above them as summary items, so that the container structure can be clicked through.
Hosts are also added to the generated map representing the assigned container as summary items.
A map is created for each of these containers. Maps/containers that are lower down in the container hierarchy are added to the maps above them as summary items, so that the container structure can be clicked through.
Hosts are also added to the generated map representing the assigned container as summary items.
 The “Items per line” field specifies how many items are placed in a row before a line break occurs.
Generation is restricted by specifying containers.
If write permissions for the specified containers are missing, the container and its subcontainers and hosts are ignored.
Containers without hosts are also ignored.
The generated maps are assigned the container they represent as their assigned container.
The “Map refresh interval” field is added to each newly generated map as the refresh interval.
The “Items per line” field specifies how many items are placed in a row before a line break occurs.
Generation is restricted by specifying containers.
If write permissions for the specified containers are missing, the container and its subcontainers and hosts are ignored.
Containers without hosts are also ignored.
The generated maps are assigned the container they represent as their assigned container.
The “Map refresh interval” field is added to each newly generated map as the refresh interval.
 Map generation can be restarted. This adds new items to the existing generated maps or creates new maps and items if new hosts or containers are available.

Generation through hostname splitting
All hosts on whose containers you have write permissions serve as the starting point.
 When creating the generator, the levels are defined according to which the host names are divided.
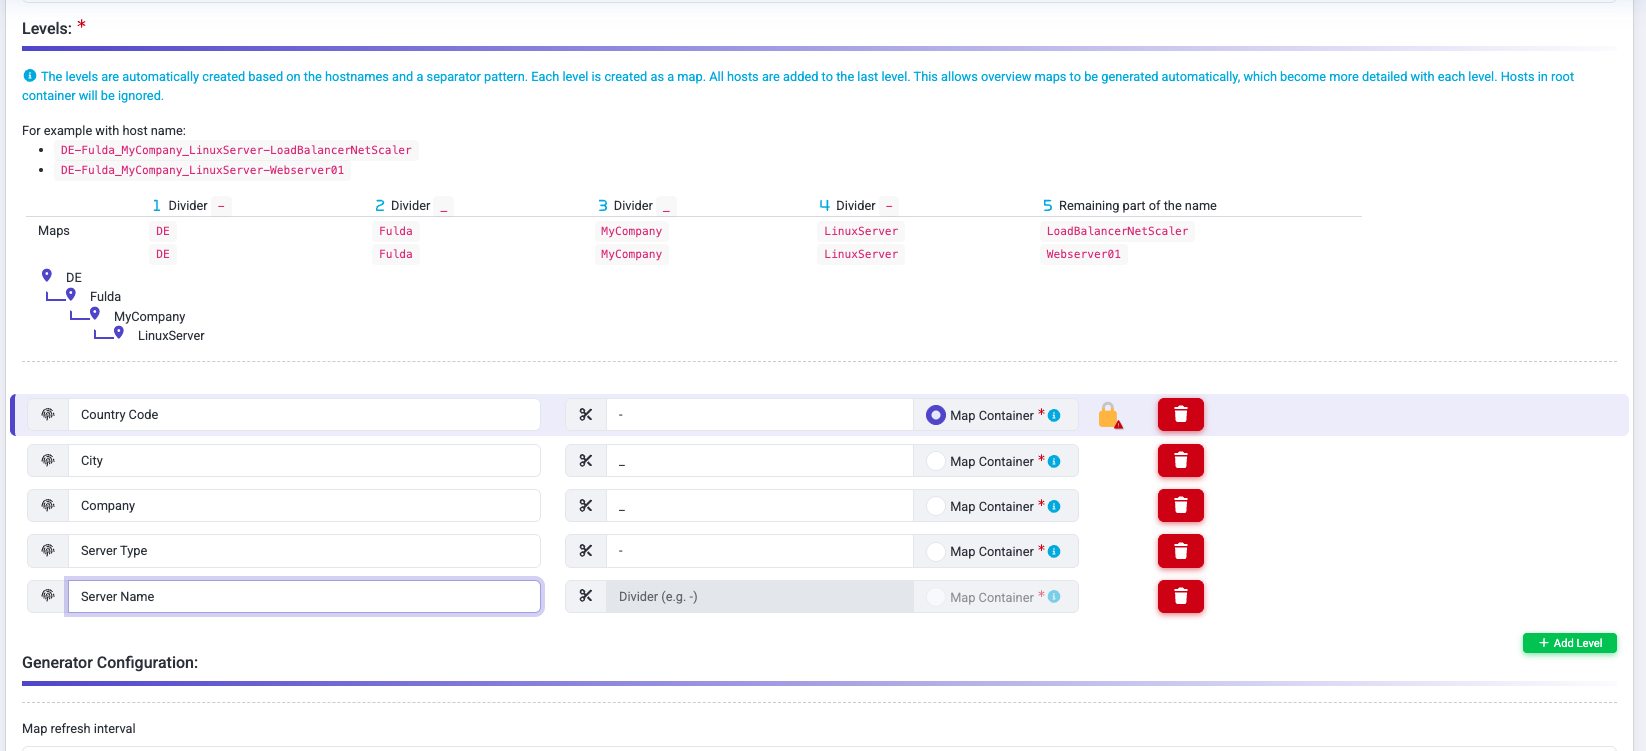 One of the defined levels must be defined as a container level.
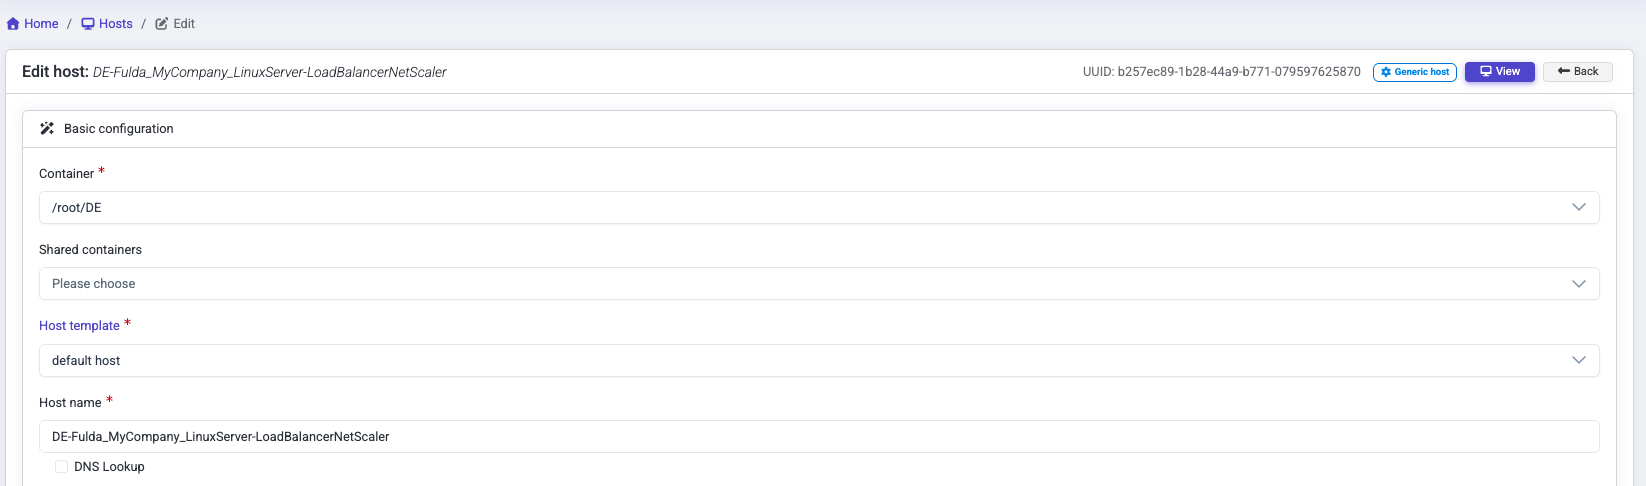
This level is checked to see whether this part matches the name of a container that appears in the host's container hierarchy.
The user must also have write permissions for the container.
If neither of these conditions is met, the host is ignored during generation.
If both are the case, the container found is used as the container for the generated map.
One of the defined levels must be defined as a container level.
This level is checked to see whether this part matches the name of a container that appears in the host's container hierarchy.
The user must also have write permissions for the container.
If neither of these conditions is met, the host is ignored during generation.
If both are the case, the container found is used as the container for the generated map.
 When generating by hostname splitting, all hostnames are split based on the specified levels and their dividers.
If the number of levels matches the number of parts in the hostname, the host and its parts are included in the generation.
One map is created per part.
When generating by hostname splitting, all hostnames are split based on the specified levels and their dividers.
If the number of levels matches the number of parts in the hostname, the host and its parts are included in the generation.
One map is created per part.
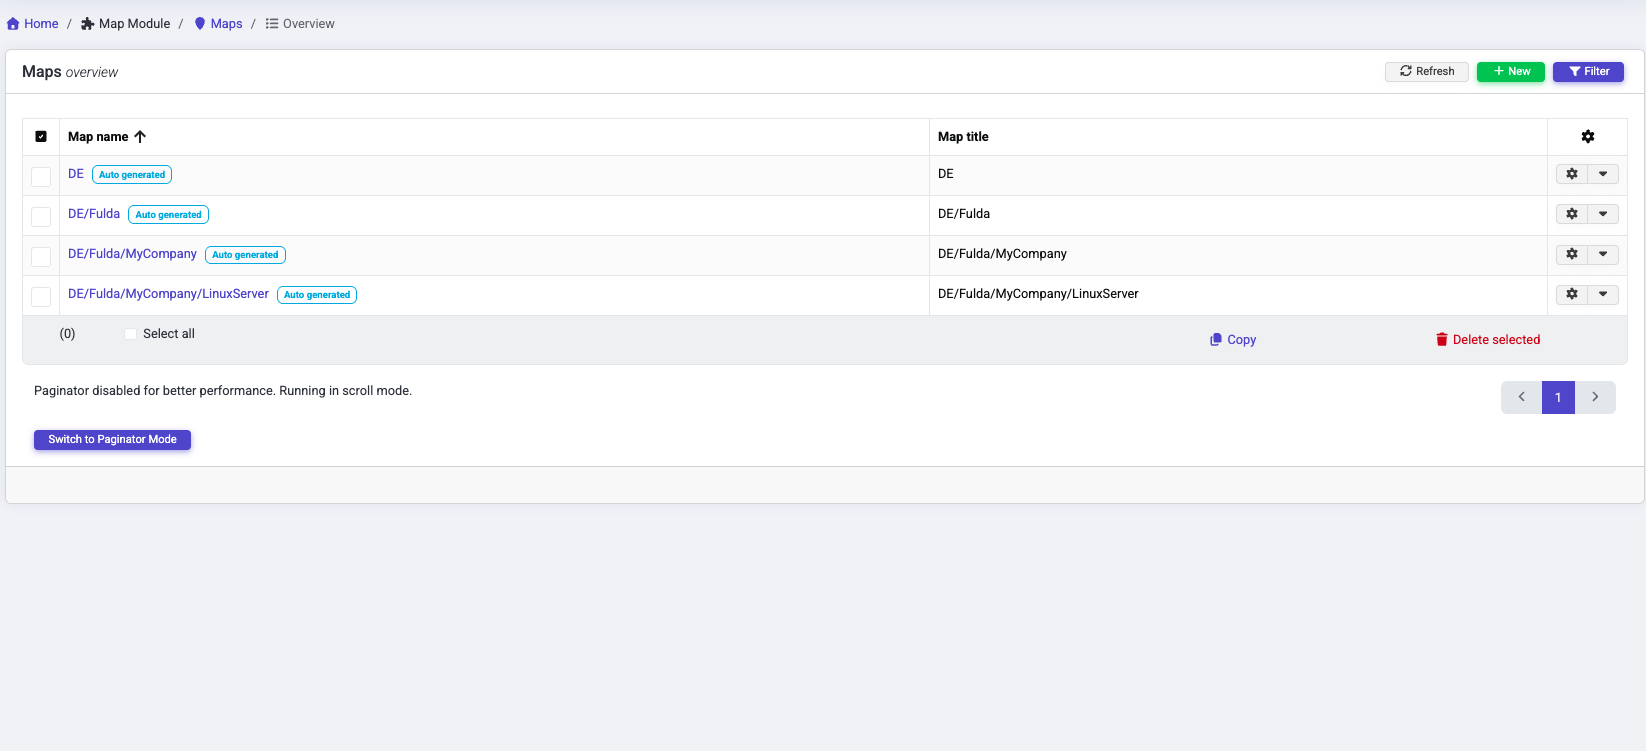 The map that is lower down in the layer hierarchy is added to the upper one as a summary item, so that the layer structure can be clicked through.
 No map is created for the last level specified. Instead, it represents the host, which is added as a summary item of the last map.
OpenStreetMap EE
What can I do with the OpenStreetMap module?
The OpenStreetMap module can display locations on a "real world" map by summarising the status of all included hosts.
What can be configured?
The settings for the OpenStreetMap module can be found under "System configuration → APIs → OpenStreetMap".
The filters "Location Status" and "Empty Locations" are default settings and can be temporarily adjusted using the filter option in the OpenStreetMap view.
| Name Field | Required | Description |
|---|---|---|
| Server address | Is the full address of the OpenStreetMap tile server which the module uses to attempt to retrieve map data. Example: http://10.10.10.20/osm_tiles/{z}/{x}/{y}.png | |
| Map update interval | Interval in seconds during which the map view is updated (default: 30) | |
| Show locations with status | Defines the default status of the locations to be displayed in the view | |
| Empty or unmonitored locations | The option "Empty or unmonitored locations" prevents empty locations from being displayed in the OpenStreetMap view. | |
| Advanced settings |