Change Calendar EE
The Change Calendar feature is able to manage your infrastructure changes directly in openITCOCKPIT. Plan the relocation of servers, the upgrade of services and much more directly in openITCOCKPIT and keep everything centrally in one view. The organisation of the changes takes place in another tool? No problem! The openITCOCKIT Change Calendar is able to import changes as a CSV file.
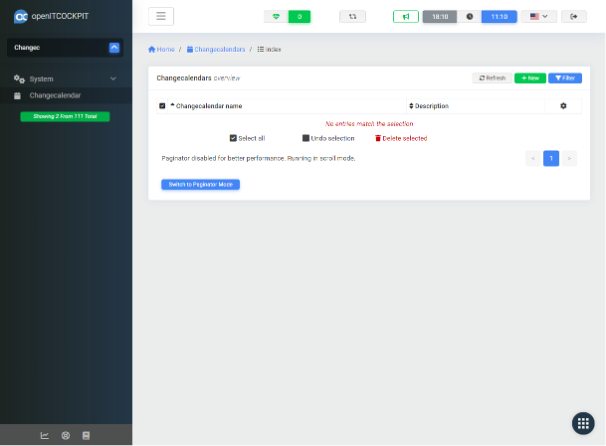
Calendar management
Navigate to Changecalendar to list, add, modify and delete the change calendars.
Create a Calendar
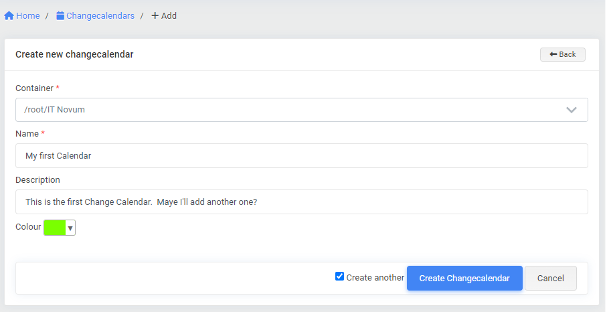
To create a new calendar from scratch, you’ll have to click on the + New button in the top right corner of your screen.

Required fields are:
- Container
- This field gives the possibility, to only show the calendar and it’s events to the users in the selected container.
- Name
- The name field is not unique as of the first release of this module.
There is also the possibility to add more information:
- Description
- You may describe the Calendar.
- Color
- Select a varying color for the calendar, which will be used on the widget.
- This helps the users distinguish the different calendars which appear on one single widget.
Changecalendar created successfully

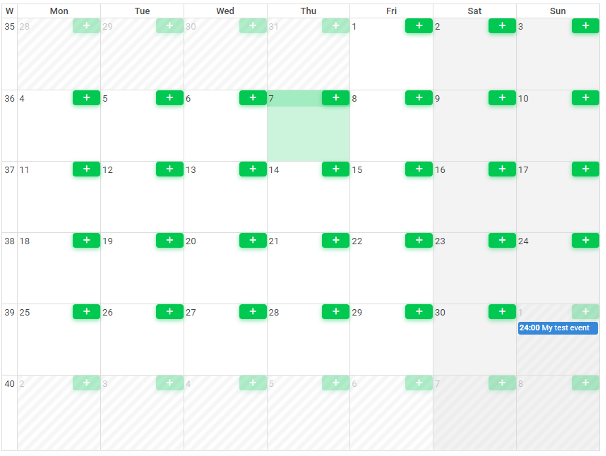
Managing events
On the Calendar index page existing calendars can be modified if the user has the rights for. With the right to edit a calendar the user has the possibility to edit the data of the calendar itself and the underlying events.
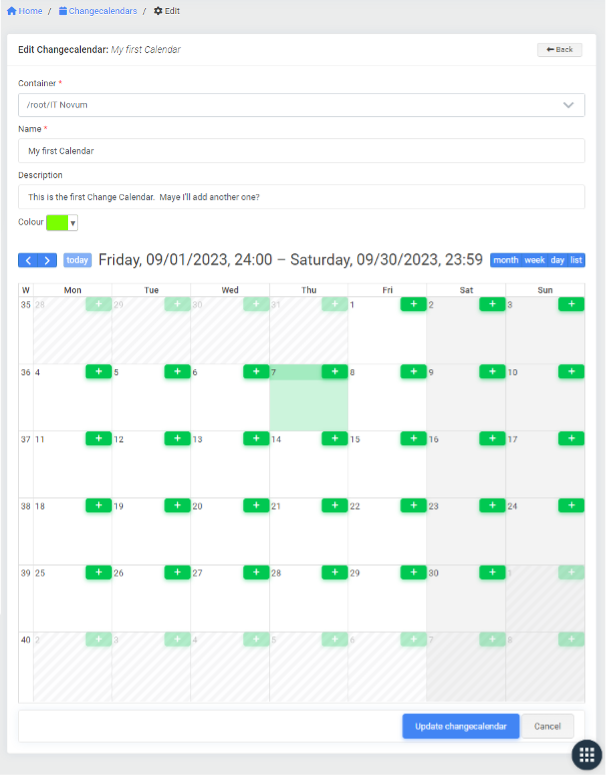
Create an event
The creation of an event is done by clicking on a + sign inside a day.
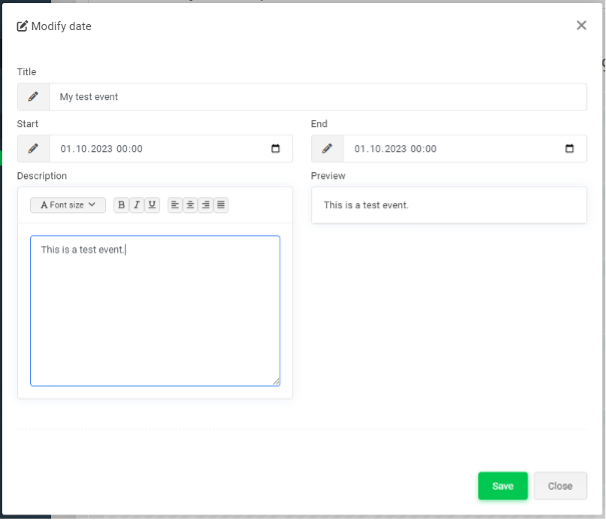
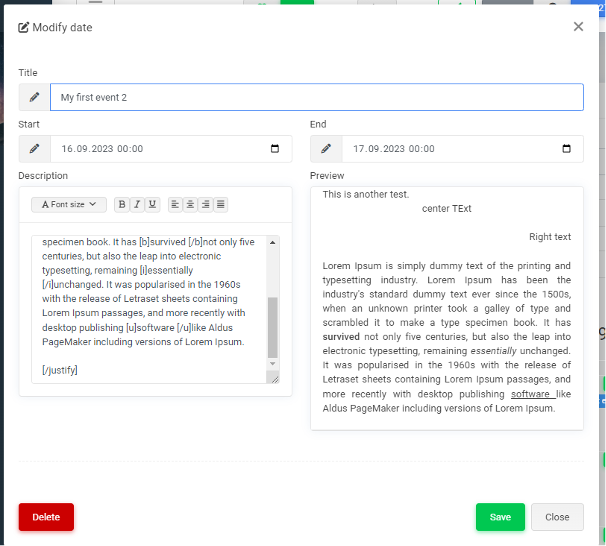
Modify an event
The events can be modified by clicking on an existing event in the calendar management.
The event can then be edited or deleted.
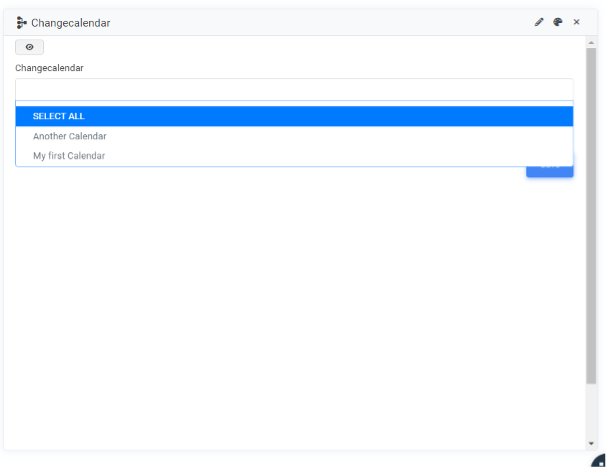
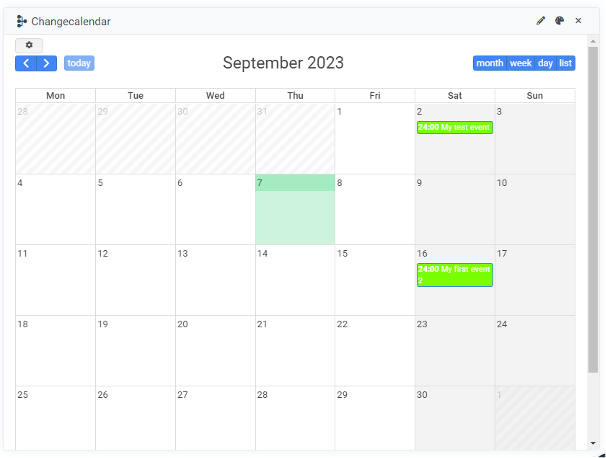
Calendar widget
There is also a calendar widget.
Creating a widget
First select all calendars that should be shown in the widget.
The display type is the timerange for the calendar.
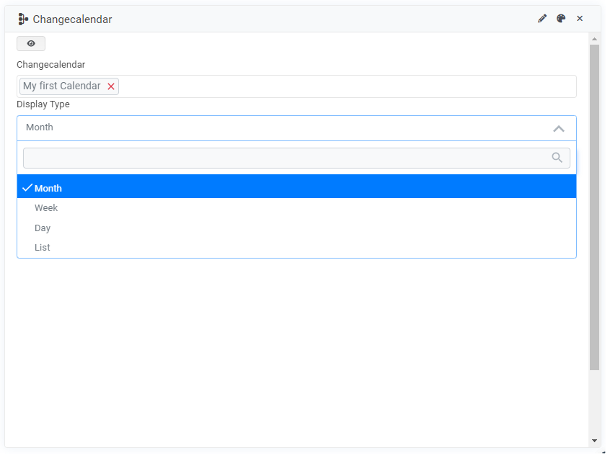
Saving the widget will then show the selected calendars in the widget.
CLI import
There is also the possibility to import the changes using CSV files.
For a successful import the CSV files need the following informations:
UID,Calendar,Start,End,Title,Description,Context
An example file could look like this:
UID,Calendar,Start,End,Title,Description,Context
"ACTE000001","Another Calendar","2023-09-10T14:00:00+00:00","2023-09-10T15:00:00+00:00","Test Import Command One","Description of the imported event.","[{'name': 'A custom field', 'value': 'Test value. It is an error. Please hold the line.', 'class': 'danger'}]"
"ACTE000002","Another Calendar","2023-09-10T14:00:00+00:00","2023-09-10T15:00:00+00:00","Test Import Command Two","Yes, this is also a description.","[{ 'name': 'A custom field', 'value': 'Test value. It was working but with warnings.', 'class': 'warning'}]"
"ACTE000003","Another Calendar","2023-09-10T14:00:00+00:00","2023-09-10T15:00:00+00:00","Test Import Command Three","Aaaaand another description for an imported event.","[{ 'name': 'A custom field', 'value': 'Three is a charm. Now it is working properly.', 'class': 'success'}]"
The import is started by executing the command:
oitc ChangecalendarModule.Import -f /tmp/kalender.csv
Hint
The imported file will remain untouched. It is only read during import and not synchronized with existing events.
Hint
The import file has an additional field which is used to identify an event uniquely. In this case, an existing event will be updated during import.