User administration
Managing users
Users in openITCOCKPIT are managed here.
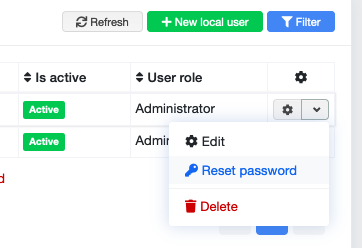
In the overview page, you will find a tabular list of all users available in openITCOCKPIT as well as the option to reset a user's password.
Creating new users
To create a new user, click on the "New Local User" button.
In the form that appears, select the corresponding containers / container roles to which the user should have access.
Please note that individually assigned containers overwrite the permissions of container roles. This means that if a user has read and write permissions via a container role, these permissions can be changed using the individually selected container. This has the advantage that permissions for individual containers do not have to be defined in a completely new container role.

Now select a user role for the new user and set this to "Is active". If the "Is active" selection box is not set for a user, this user can no longer log into openITCOCKPIT.
In addition to the standard fields such as email address, first name, last name, company, position and telephone number, you have the option of setting standard parameters such as the date format, time zone and the language for the user interface. These can also be changed by the user via their profile settings.
You can also create API keys for the user here for use in API key authentication.
| Field | Required | Description |
|---|---|---|
| Container roles | User container role. Optional mandatory field - Either container, container roles or both must be selected. | |
| Container | Container. Optional mandatory field - Either container, container roles or both must be selected. | |
| User role | User roles | |
| is active | Optional mandatory field - Either container, container roles or both must be selected. | |
| Email address | User's email address | |
| First name | The first name of the user | |
| Last name | The last name of the user | |
| Company | User's company affiliation | |
| Company positions | Company positions | |
| Phone number | The user's telephone number | |
| Length of the lists | Determines the number of elements the user can see in a list. The user can change this later via their profile settings selbst ändern | |
| Show status badges in menu | Shows the status information in the web page header | |
| Recursive browser | Determines whether the recursive view should be displayed in the browser | |
| Tab rotation interval | Tab rotation interval in the dashboard | |
| Date format | Date format displayed for the user in openITCOCKPIT | |
| Time zone | User's time zone | |
| User interface language | User interface language for the user | |
| New password | Login password for the user | |
| Confirm new password | Login password for the user |
Create new user (Active Directory / LDAP)
Essentially, creating a user via LDAP is similar to creating a local user. Just select "Import from LDAP" to add a new user via LDAP.
However, instead of entering the email address, first name and last name, the SAM account name is selected from a list. Email, first name and last name are then filled in automatically. A password is also not assigned here, as the new user logs in with their LDAP access data.
| Field | Required | Description |
|---|---|---|
| Container roles | User container role. Optional mandatory field - Either container, container roles or both must be selected. | |
| Container | Container. Optional mandatory field - Either container, container roles or both must be selected. | |
| User role | User roles | |
| is active | Determines whether a user can log into openITCOCKPIT or not. | |
| SAM account name | User to be imported | |
| DN | Imported from LDAP server | |
| Email address | Email address of the user. Imported from LDAP server | |
| First name | First name of the user. Imported from LDAP server | |
| Last name | Last name of the user. Imported from LDAP server | |
| Company | User's company affiliation | |
| Company positions | Company positions | |
| Phone number | The user's telephone number | |
| Length of lists | Determines the number of elements the user can see in a list. The user can change this later via their profile settings. | |
| Show status characters in the menu | Shows the status information in the web page header | |
| Recursive browser | Determines whether the recursive view should be displayed in the browser | |
| Tab rotation interval | Tab rotation interval in the dashboard | |
| Date format | Date format displayed for the user in openITCOCKPIT | |
| Time zone | User time zone | |
| User interface language | Interface language for the user |
Reset user password
To reset a user password, click on "Reset password" on the overview page.
The user will receive an email with a new, randomly generated password which he can use to log onto the system.
Managing user roles
User roles in openITCOCKPIT form the basis for user rights on and to the system. They determine what a user with a particular role may or may not do in openITCOCKPIT.
Creating new user roles
To begin creating a new user role, click on the "New" button.
You can then assign a name and a description for the new user role.
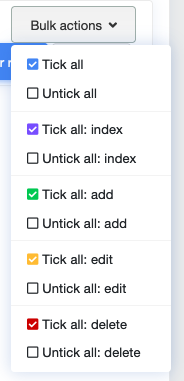
Moving further down the form you can assign the corresponding rights for the new role. Rights can be assigned granularly for individual pages and actions or several can be assigned at the same time via the "Mass actions" button.
Using this method, all rights ("Index", "New", "Edit" or "Delete") can be assigned by clicking each one, individually, in turn for each page.
| Field | Required | Description |
|---|---|---|
| Name | Name of the user role | |
| Description | Description of the user role |
User container roles
User container roles are collections of container permissions that can be applied for users in openITCOCKPIT.
A user container role can also be used to authorise users. A new user container role, however, must be created for this purpose.
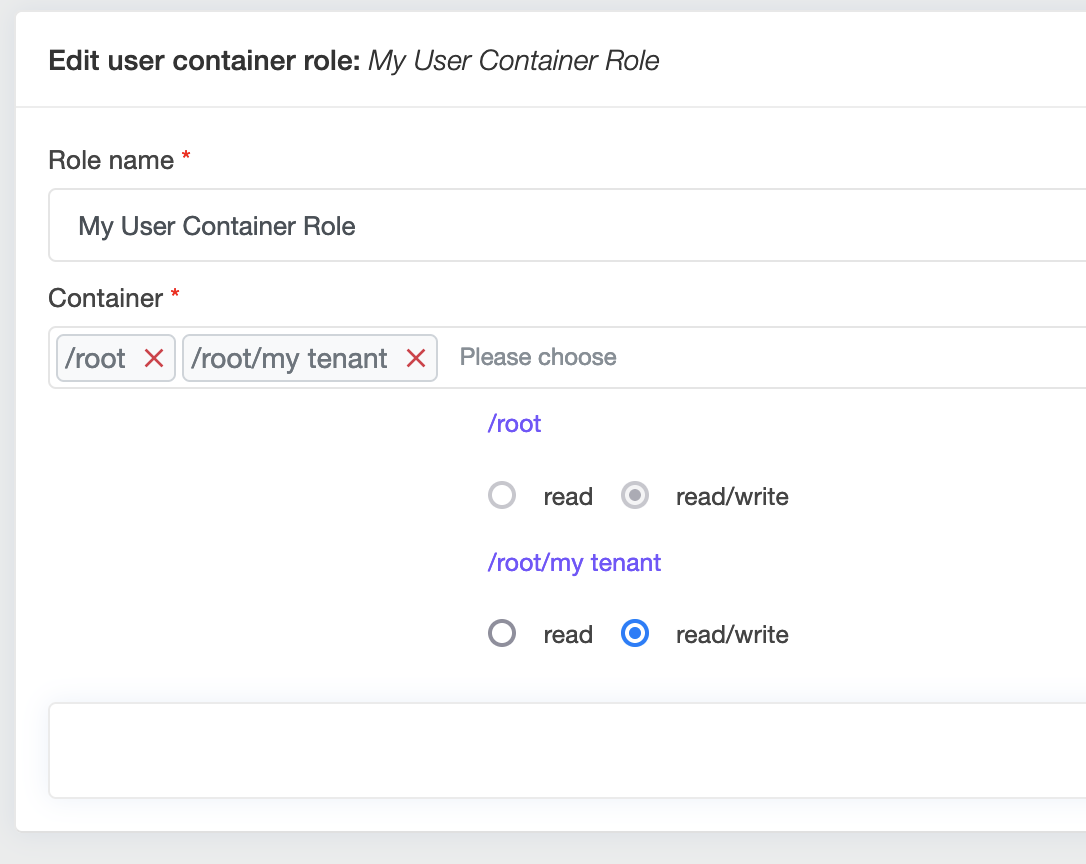
Creating user container roles
When creating a user container role, you must assign a name to the role and select the desired containers.
When creating a user container role, you must assign a name to the role and select the desired containers.
| Field | Required | Description |
|---|---|---|
| Role name | Name of the user container role | |
| Container | Containers to be assigned to the user container role |
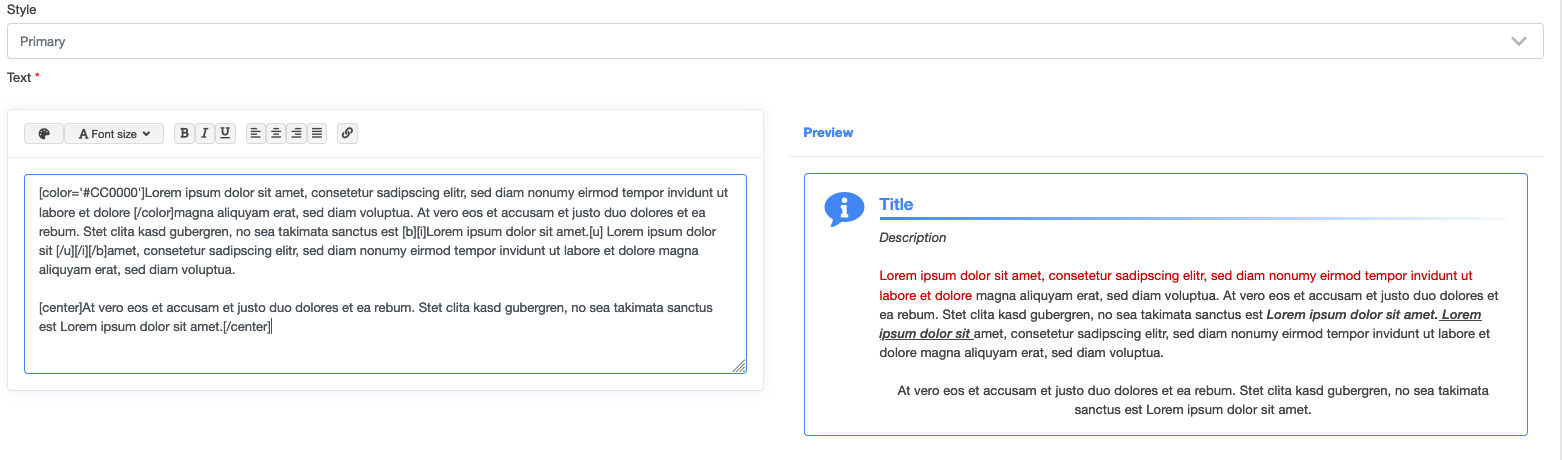
Creating the message of the day
| Field | Required | Description |
|---|---|---|
| Title | Mandatory field - The title is displayed at the top and is used as a heading | |
| Description | Here the user has the ability to enter a short description for the message of the day | |
| Date | Mandatory field -The date is used to display the message of the day | |
| Duration | Optional mandatory field - by setting the duration, the message of the day is only displayed temporarily | |
| Filter for user groups | Here you can restrict the visibility of the message of the day to certain groups | |
| Notification for users | If active, affected users are notified by email | |
| Style | The following style properties are available for selection: info, primary success, warning, danger | |
| Text | Text for the message of the day |
Through the style selection, the user can visually clarify the informational weight or information type for the message.

A WYSIWYG editor with rudimentary functions such as text colour, size and alignment, etc. is available for creating the text. Using the editor, the text entered can also be formatted. All changes will immediately be displayed in the preview window.