Container permissions
First of all, you will need to familiarise yourself with our "container" based authorisation system. All objects like users, hosts, contacts, templates etc. are bound to containers.
Danger
Permissions can become a very complex topic! - We strongly advise you not to skip this section!
/root Container
The "/root" container is a rather special entity. All objects assigned to this container are globally visible to all users! This means this container is intended for global, frequently used objects such as the "ping" service template or the "24x7" timeperiod.
If you assign a host to the "/root" container, it is not possible to change the container assignment later!
Users assigned to the "/root" container automatically become global administrators with full privileges to all objects.
Global admins are marked by a crown above their username:
Container tree
Containers are laid out in a tree-like structure. The "/root" container is always the "root" of all subsequent containers. The next level in the tree could be a "tenant". Tenants can be departments in your company or even completely different companies altogether. Within a tenant you can create "nodes". This can be helpful when you need to map out entire company structures in your monitoring system.
Following this example, a container tree structure would look like this: /root/client/node/.
To illustrate this, let's create a tenant called "Demo Tenant" under Administration -> Container Management -> Tenants
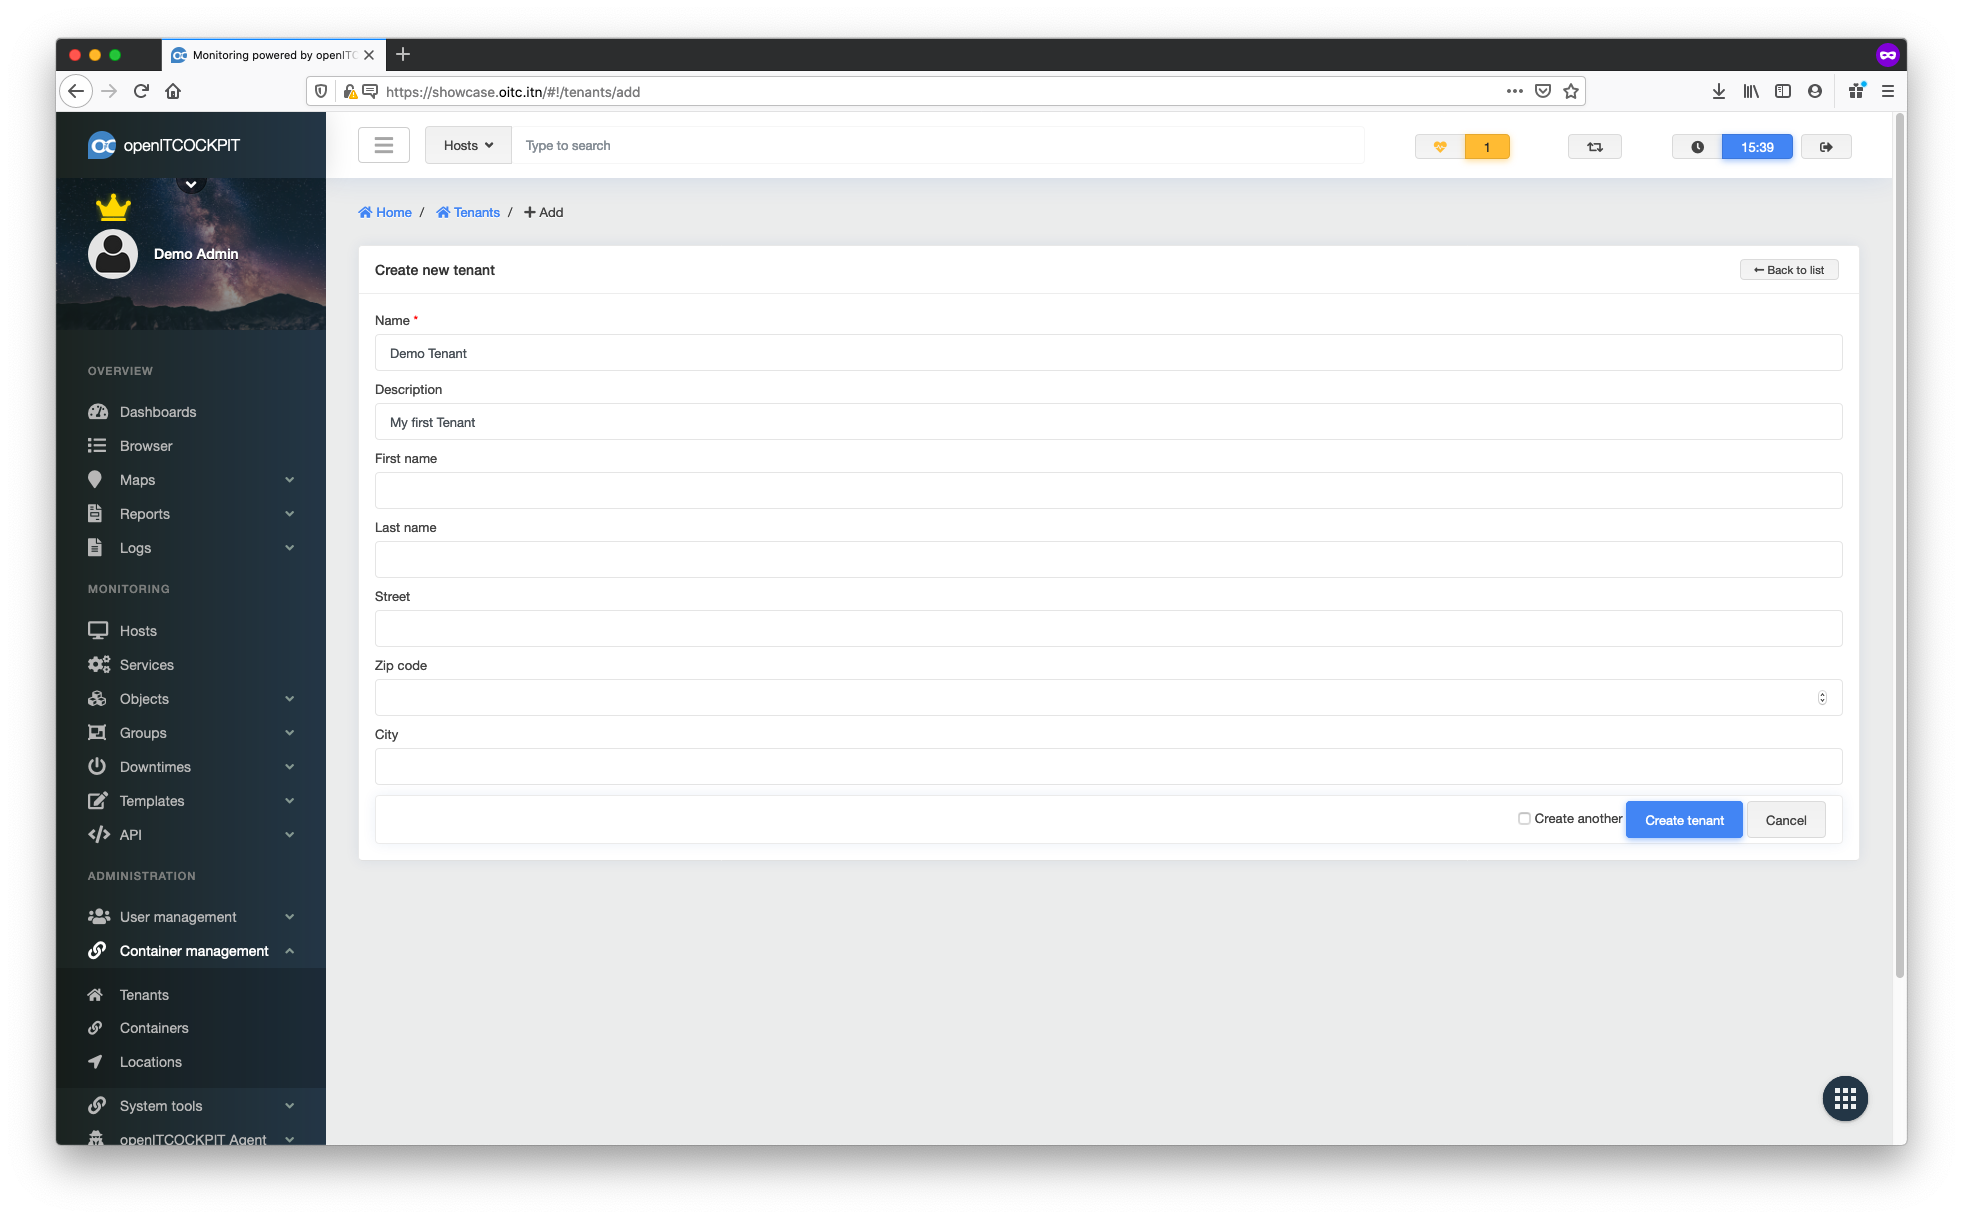
The container tree now looks like this: /root/Demo Tenant/.
In the next step we create nodes within the "Demo Tenant" by going to Management -> Container Management -> Container
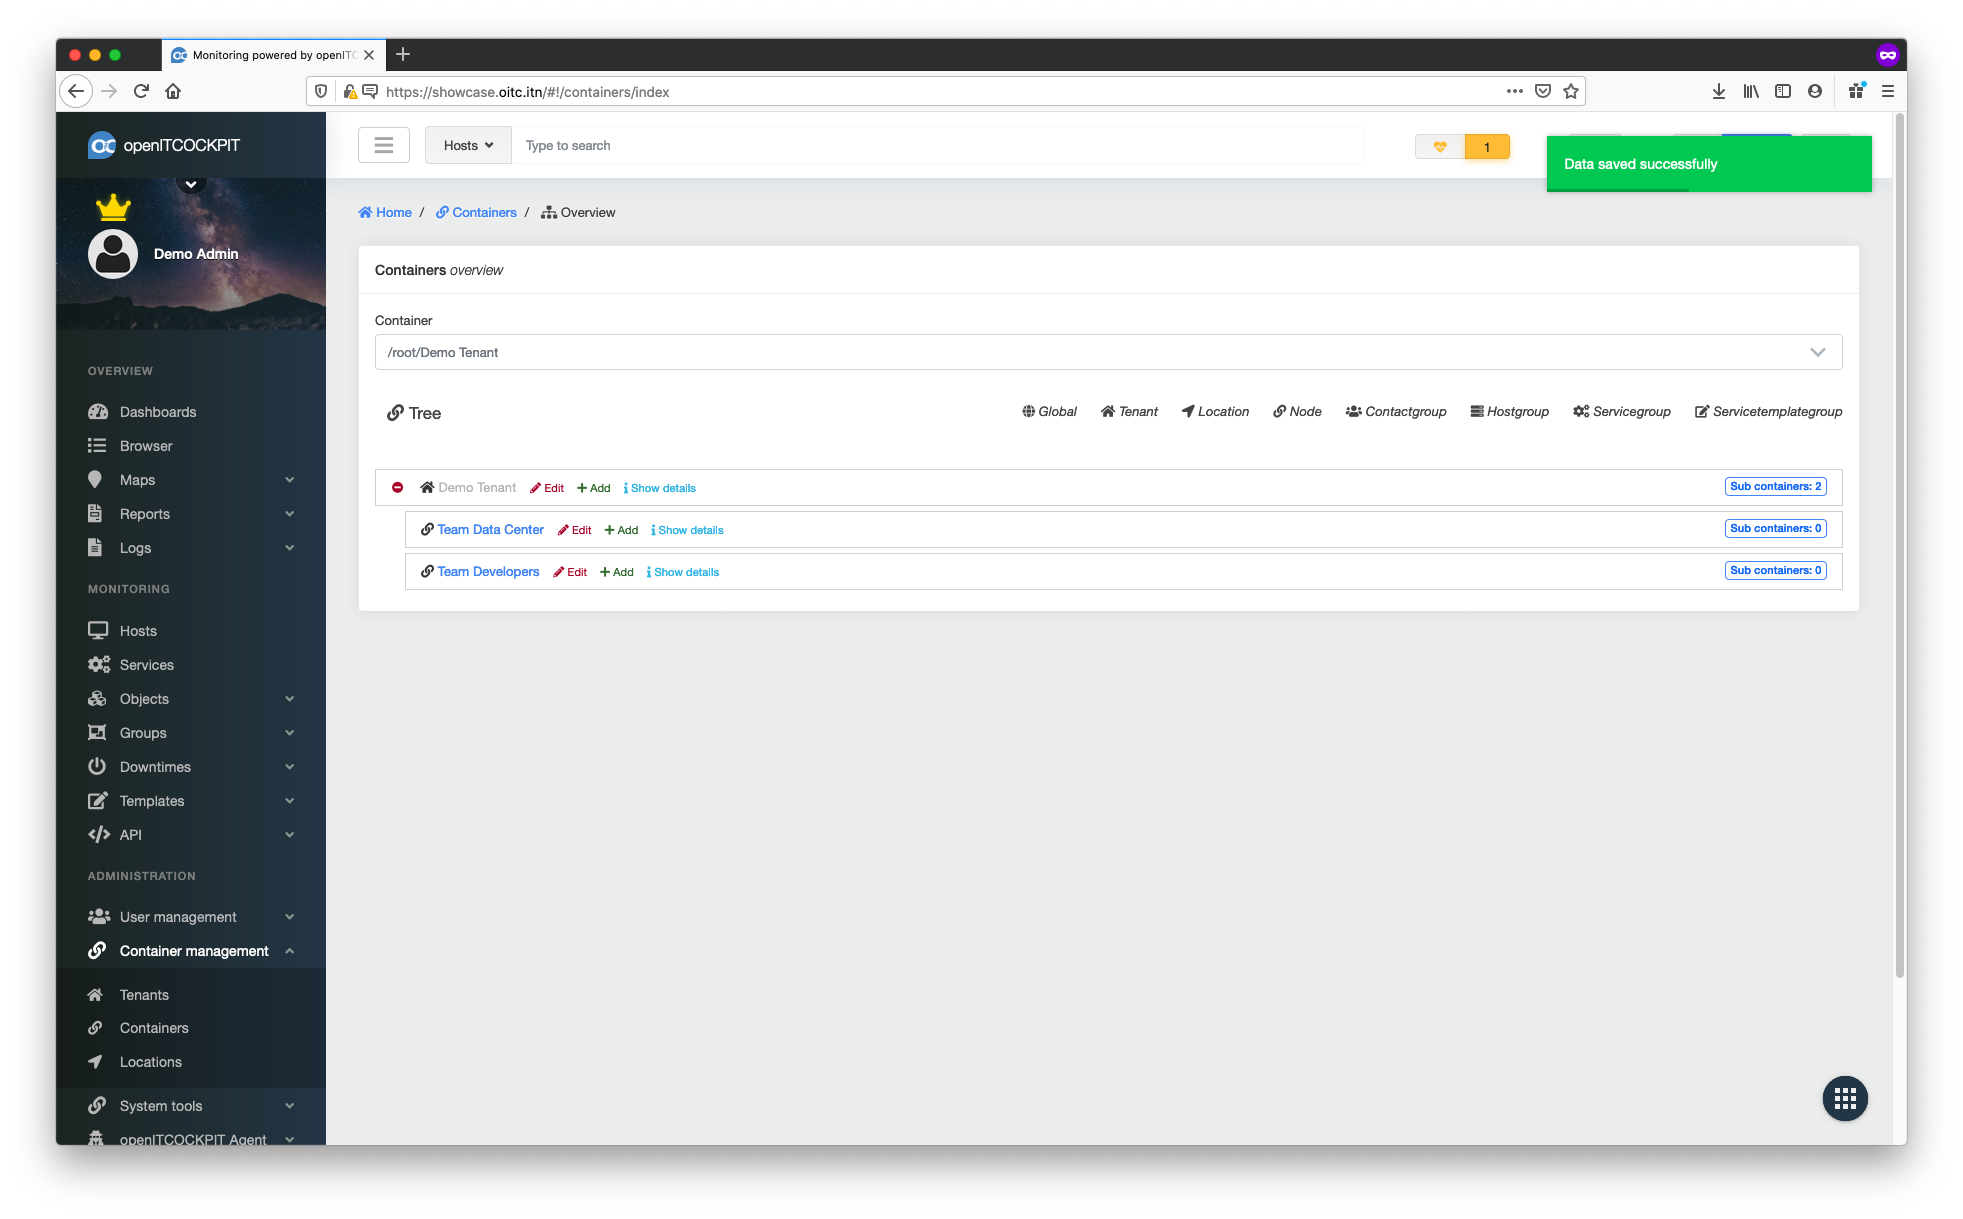
In this example we create a separate node for the "Data Centre Team" and the "Developers". This allows each team to create their own hosts within their own containers.
Our container tree now looks like this:
/root/Demo Tenant/Team Data Center
/root/Demo Tenant/Team Developers
You can also assign users to different levels in the container tree.
- If you assign a user to the
/root/container, that user becomes a global administrator and has access to all objects in all tenants - If you assign a user to the container
/root/Demo TenantTenant, the user will have access to all objects within the tenant as well as all sub-containers - • If you assign a user to the
/root/Demo Tenant/Team Developerscontainer, the user will have access to all objects inside the "Team Developers" container as well as all of its sub-containers
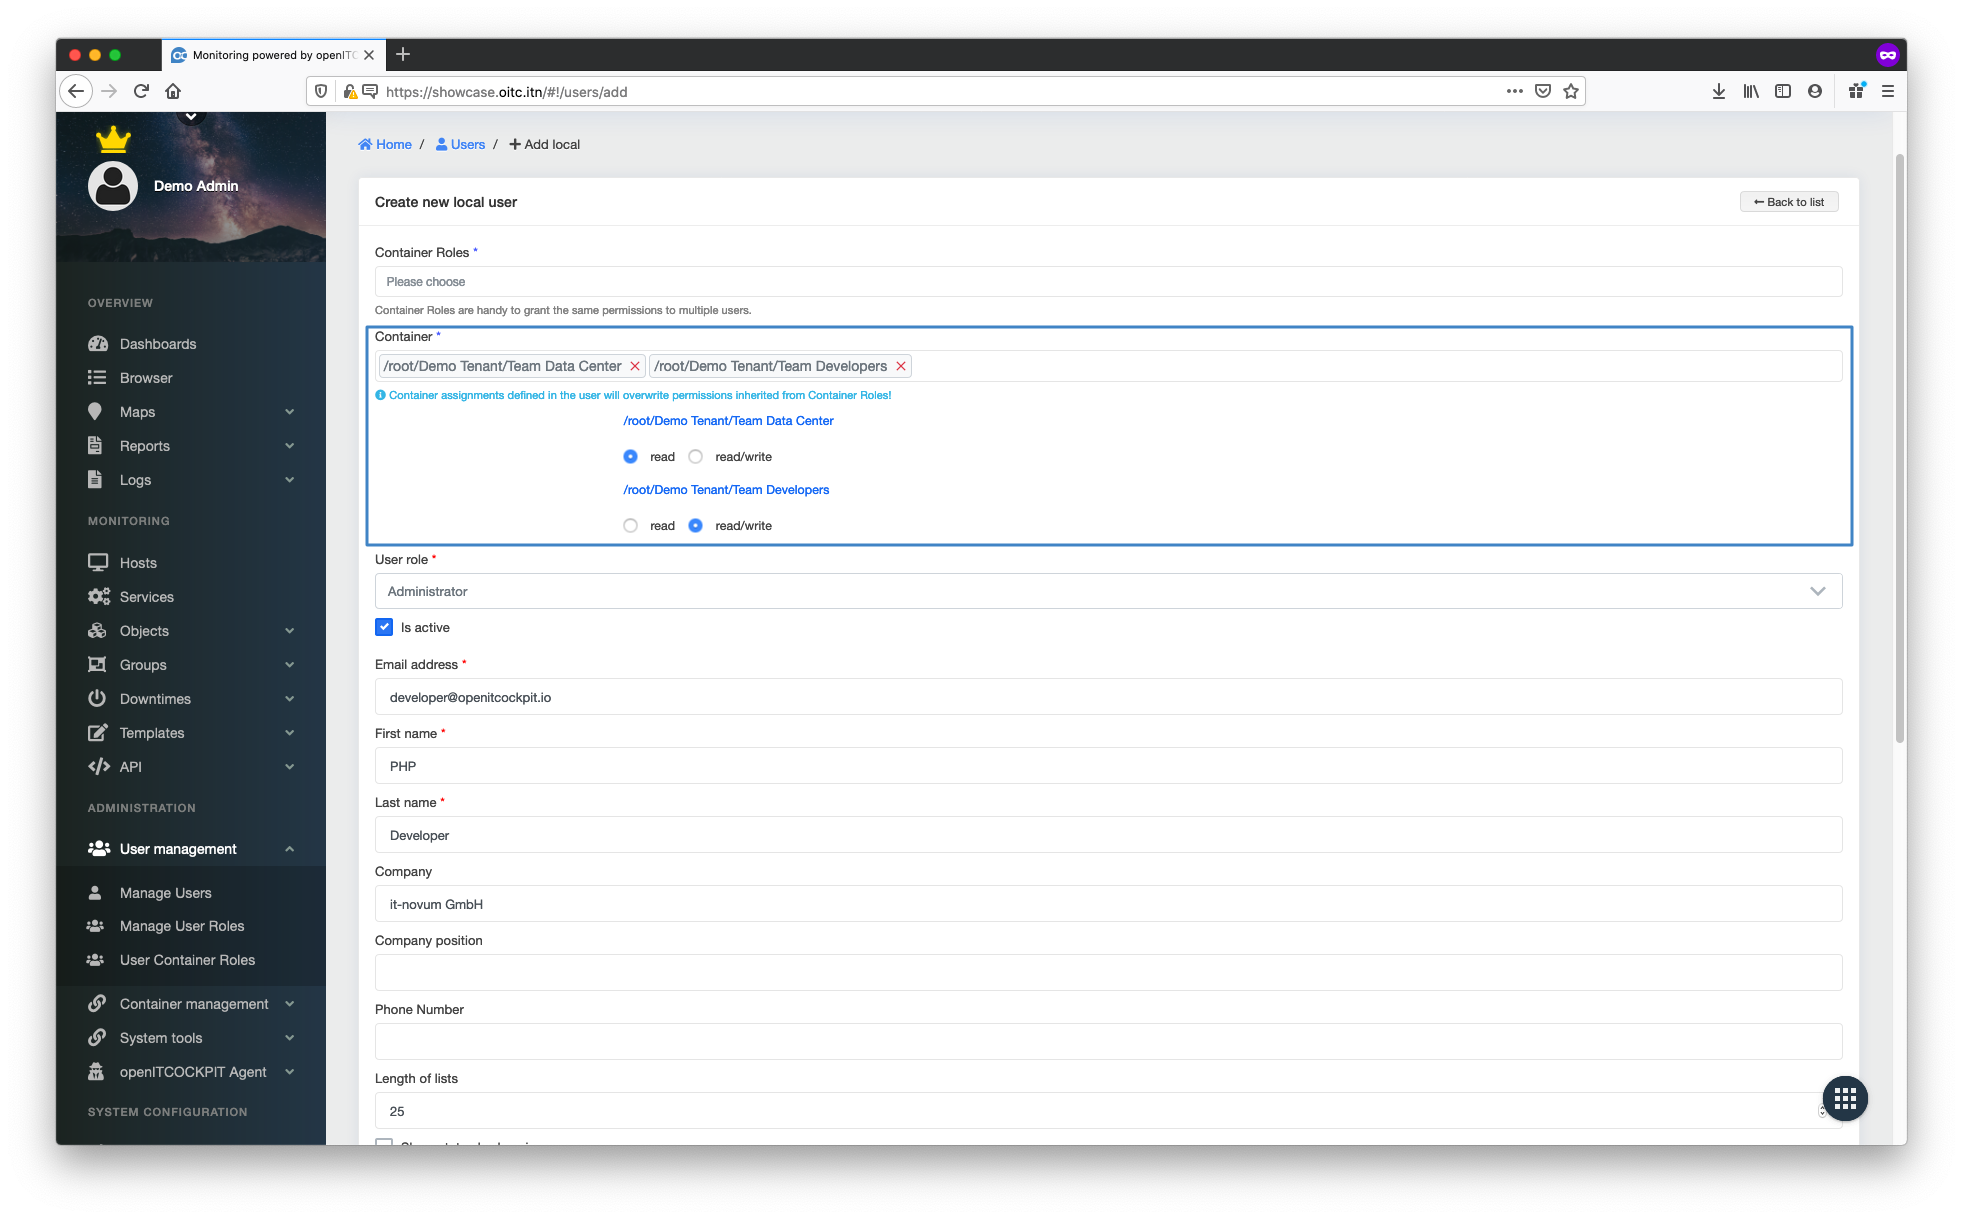
It is also possible to give all users read and write permissions to each container. To do this, navigate to Management -> User Management -> Manage Users and create a new user. You can now select all the containers that the user should have access to and assign read and write permissions for each individual container.
Although the container-based authorisation model can become very complex, it offers the greatest possible flexibility and enables the granular management of authorisation options.
Note
Since openITCOCKPIT 5, container permissions can also be mapped in "user container roles".