How to Configure Let's Encrypt SSL Certificates for openITCOCKPIT
This documentation explains how to secure your openITCOCKPIT installation with SSL certificates from Let's Encrypt.
Note
This guide assumes that openITCOCKPIT is the only application running on the server. If you are running multiple different web applications on your server, we recommend using a reverse proxy to terminate all SSL connections there.
Prerequisites
- To use Let's Encrypt, the system must be accessible from the Internet.
- The system must have a domain or subdomain like
next.openitcockpit.io.
Installing Certbot
Issuing Let's Encrypt certificates can be done using various tools. For openITCOCKPIT itself, it does not matter which tool manages the SSL certificate.
This documentation uses Certbot to manage the Let's Encrypt certificate.
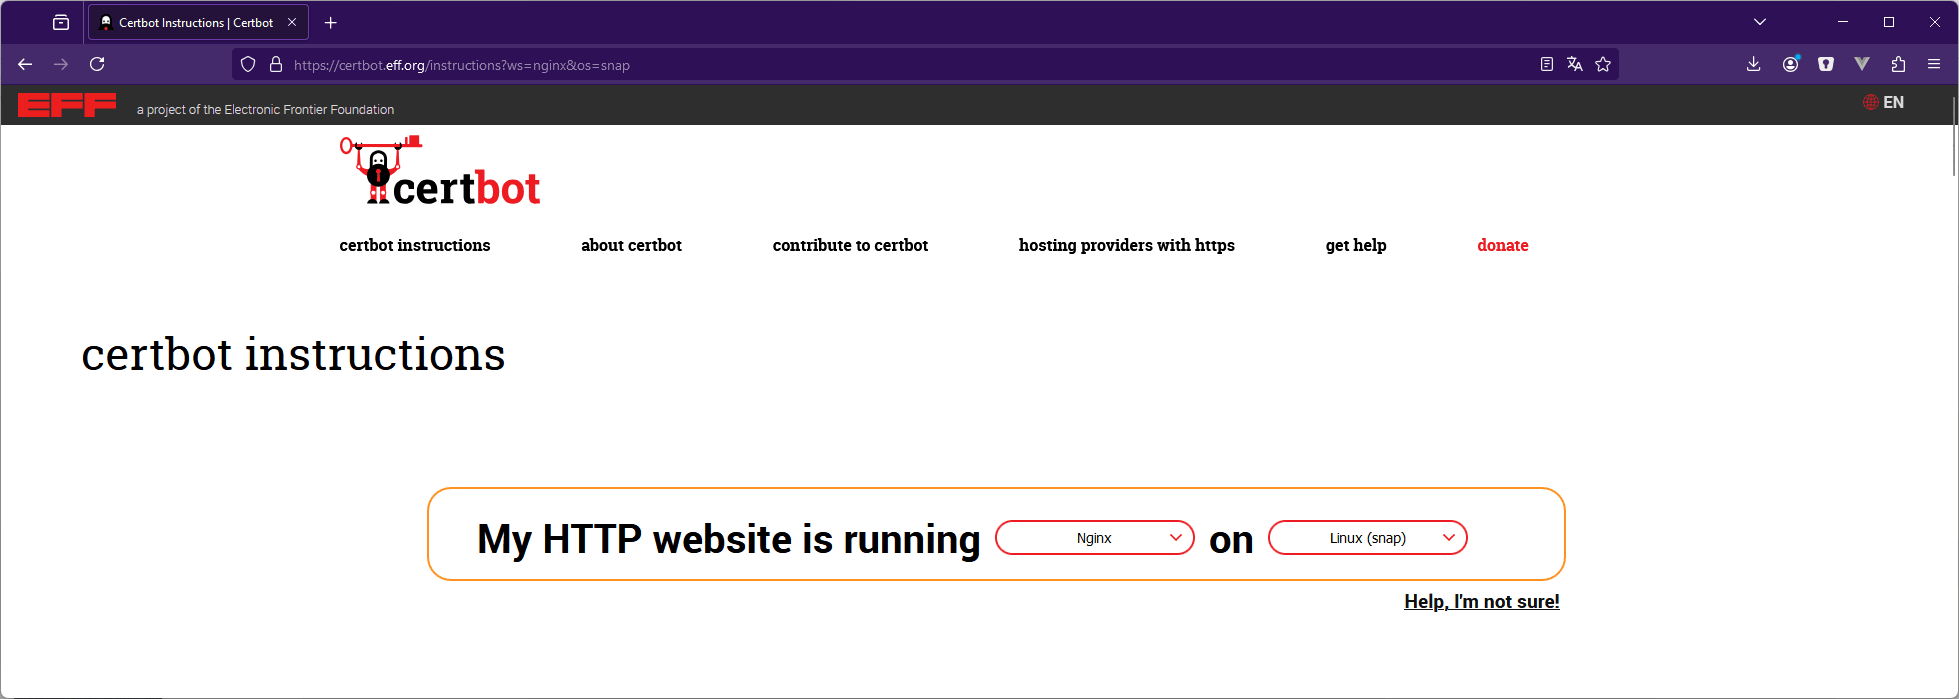
First, install Certbot as described in the official documentation. We recommend the snap-based installation.
Select Nginx as the web server and Linux (snap) as the operating system, then follow the instructions.
Issuing a new certificate
An SSL certificate can easily be created using Certbot. You only need to adjust the domain name next.openitcockpit.io to match your domain.
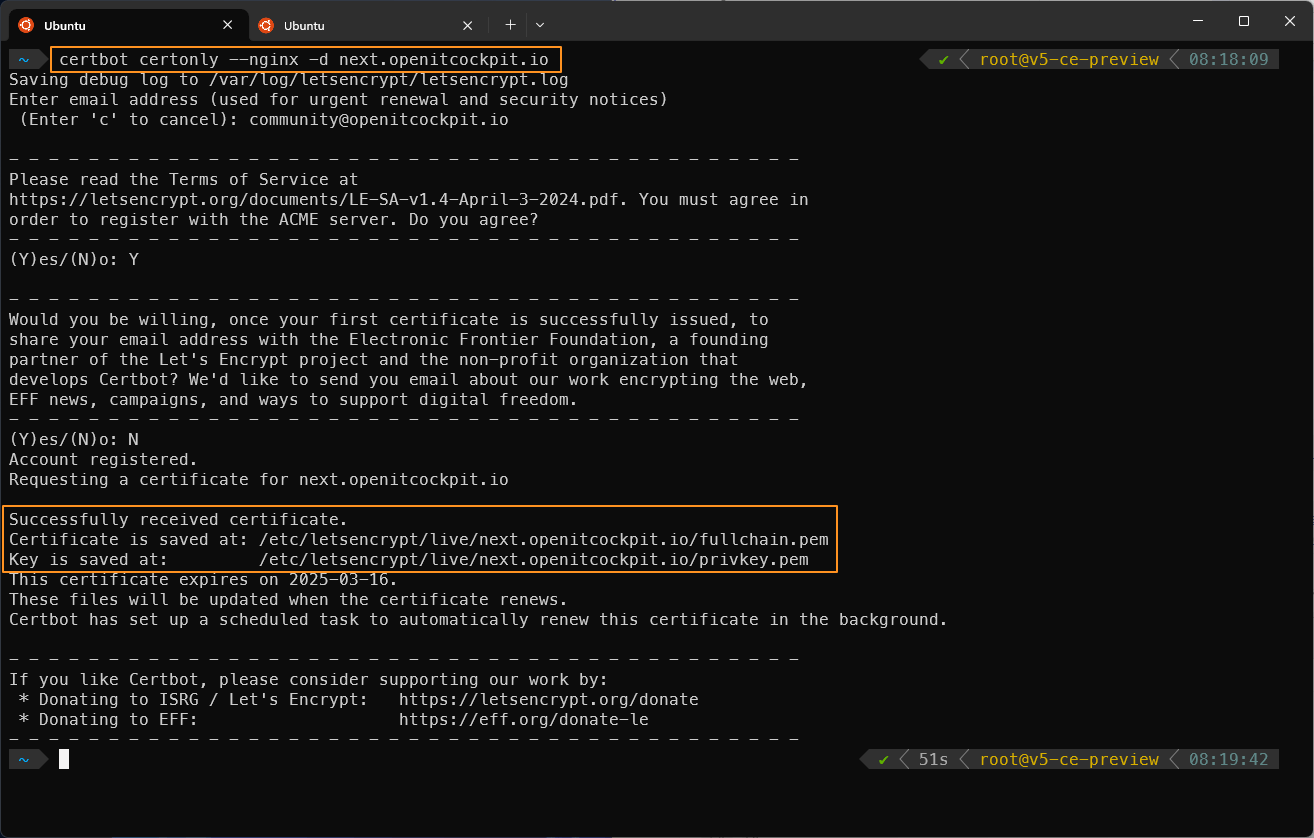
certbot certonly --nginx -d next.openitcockpit.io
If you are running Certbot for the first time, some prompts will appear, such as entering an email address. It is recommended to answer these questions with valid information.
Upon success, you will see the following output. Copy the file paths of the two files into a text editor. These will be needed in the next step.
Successfully received certificate.
Certificate is saved at: /etc/letsencrypt/live/next.openitcockpit.io/fullchain.pem
Key is saved at:         /etc/letsencrypt/live/next.openitcockpit.io/privkey.pem
Loading the Certificates
Next, the SSL certificate must be configured in the Nginx web server. Open the file /etc/nginx/openitc/ssl_cert.conf and add the Let's Encrypt-issued certificate as shown in the following example:
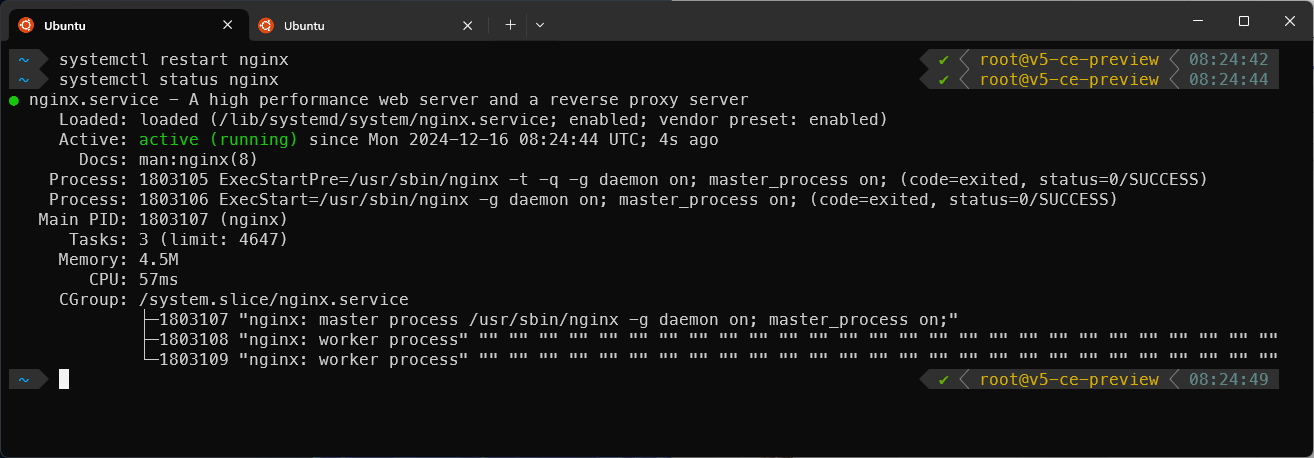
To apply the changes, restart the Nginx web server.
systemctl restart nginx
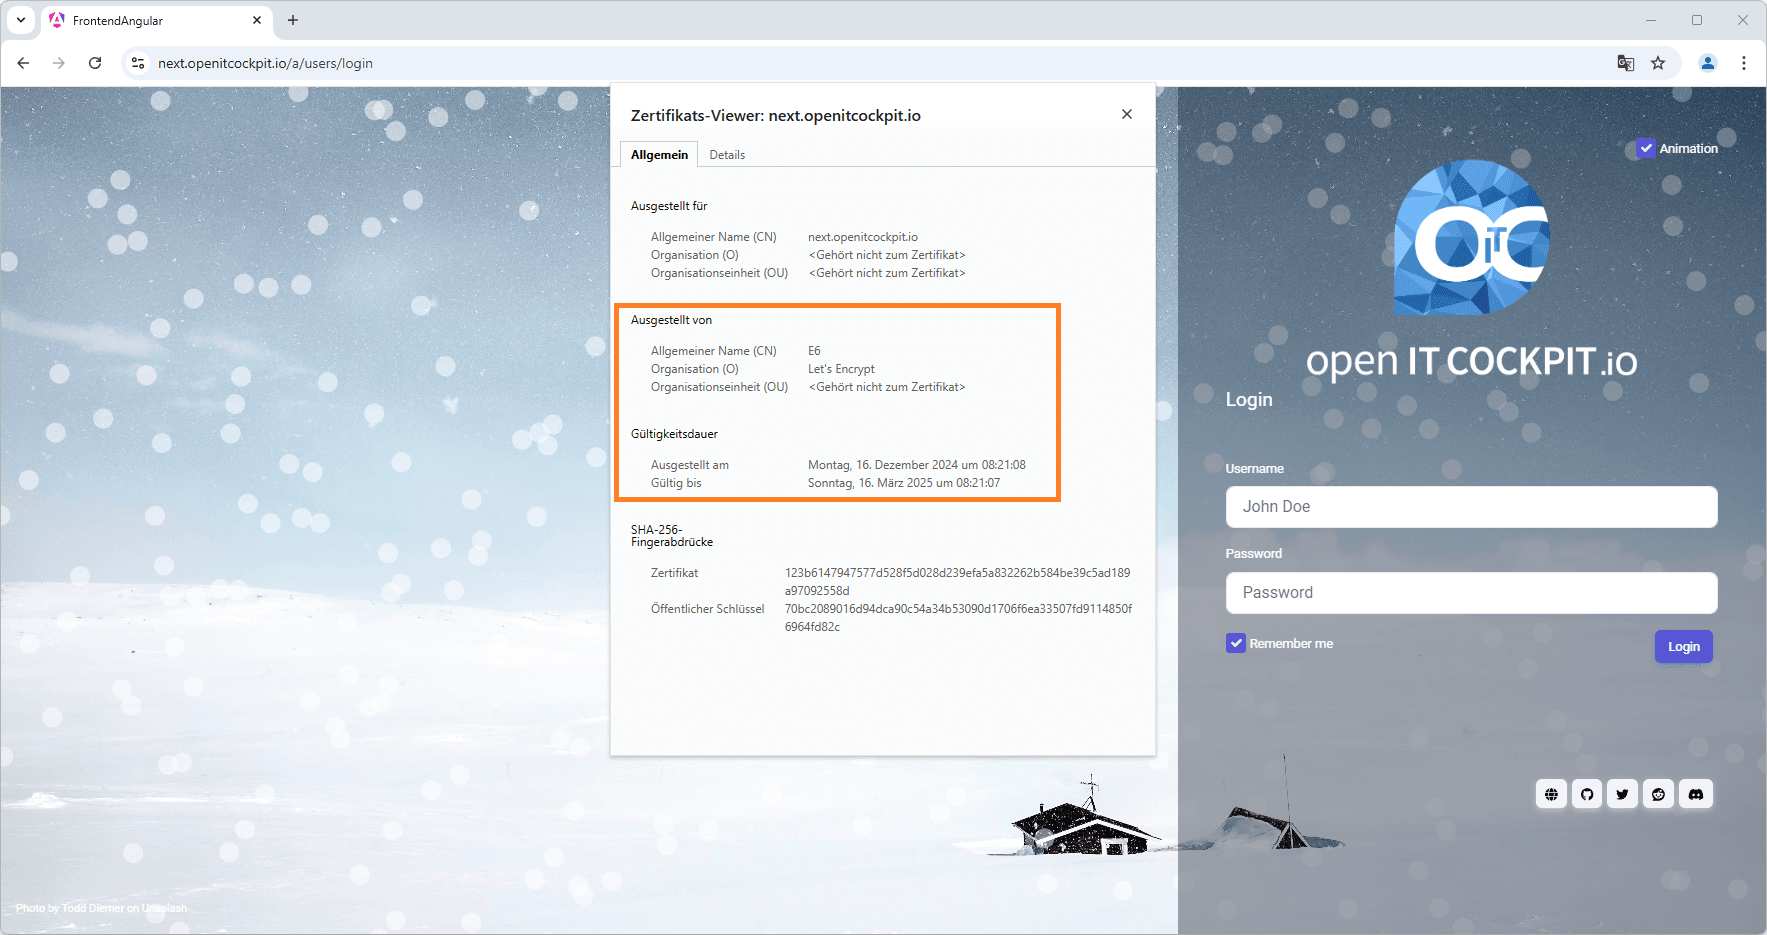
openITCOCKPIT is now secured with the Let's Encrypt certificate. You can verify this using your web browser.
Testing Automatic Renewal
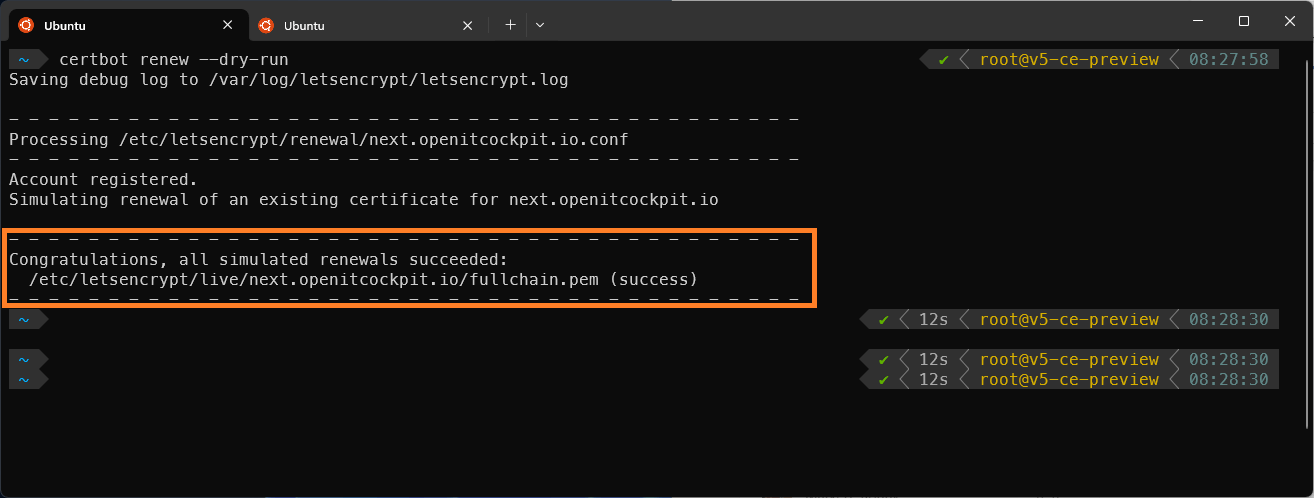
Let's Encrypt certificates have a lifespan of 90 days. Certbot automatically renews the certificate, but it is recommended to verify the renewal process once.
You can test the automatic renewal with the following command:
certbot renew --dry-run
Monitoring the Certificate (Optional)
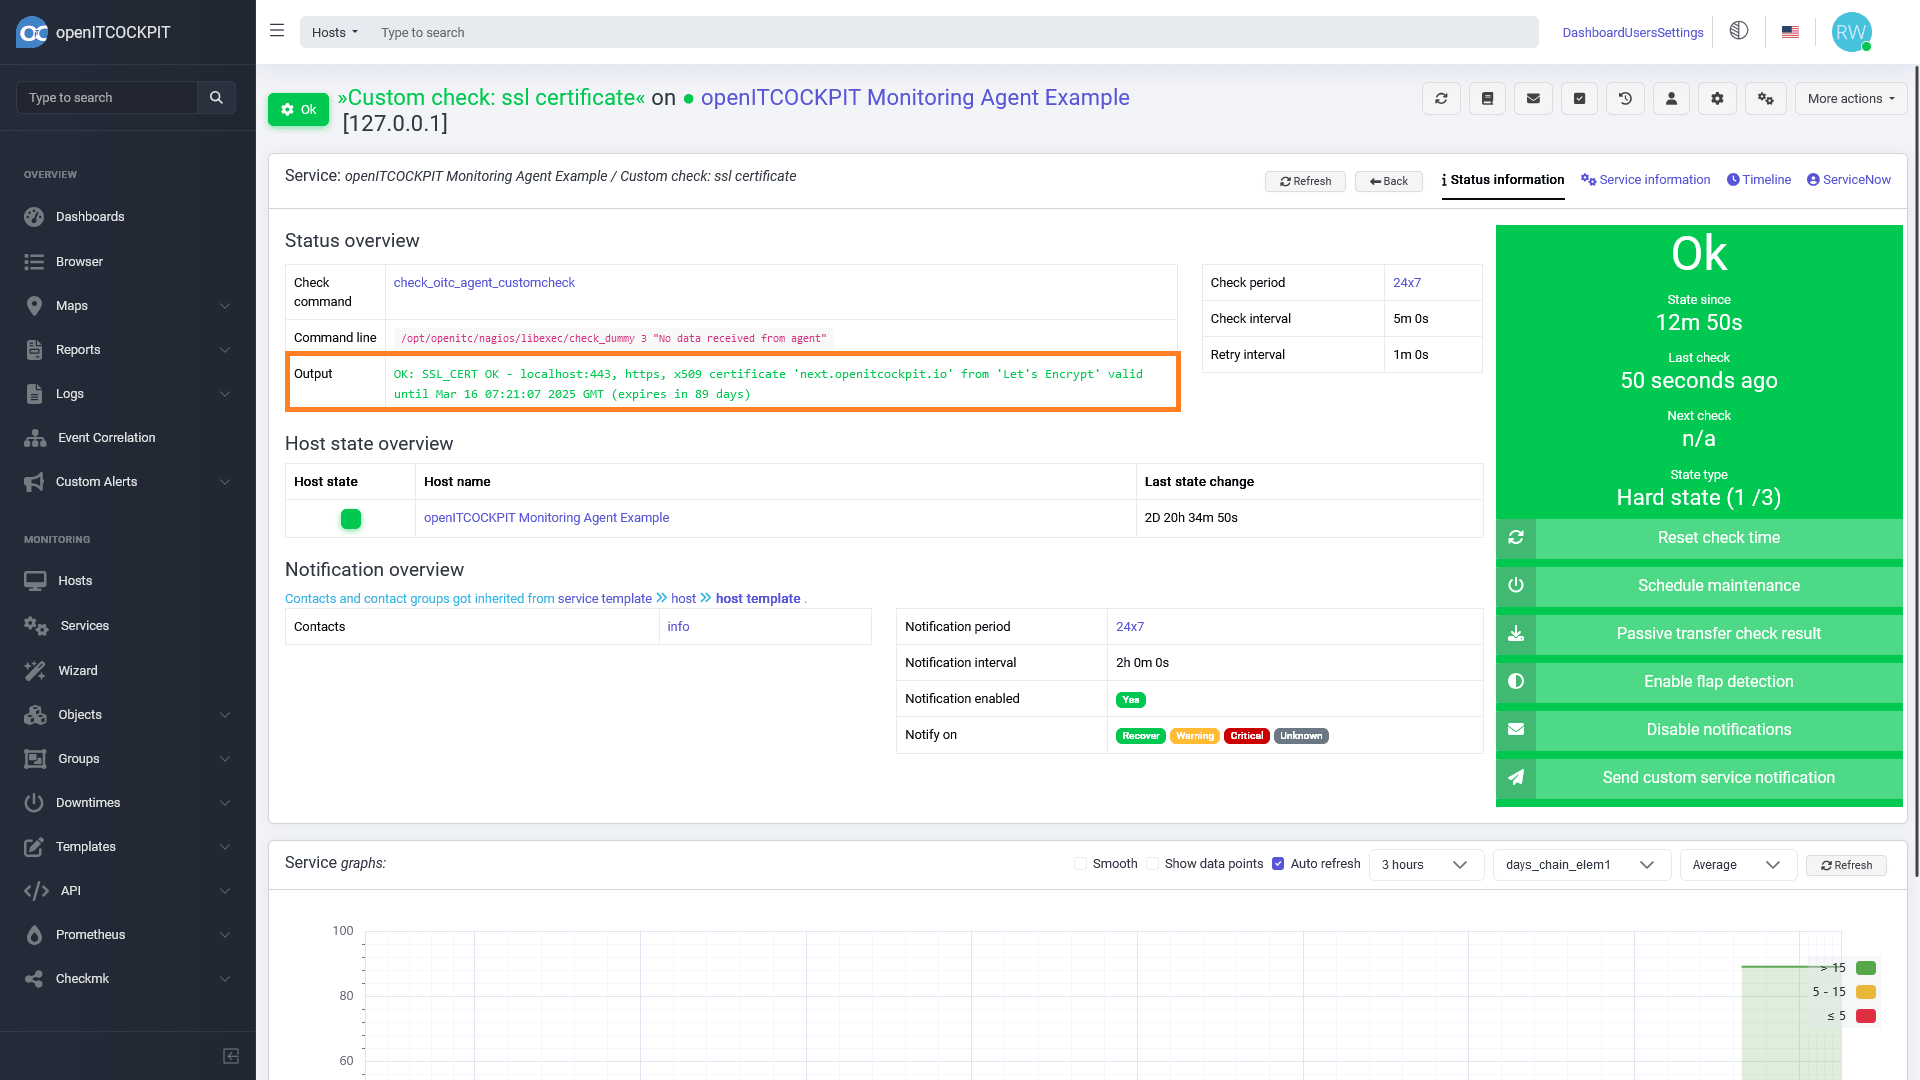
It is recommended to monitor the certificate in openITCOCKPIT. This step is optional.
The easiest way to monitor the certificate is by using the plugin matteocorti/check_ssl_cert and the openITCOCKPIT Monitoring Agent.
Installing check_ssl_cert
Download the plugin matteocorti/check_ssl_cert in .tar.gz format and extract it.
wget https://github.com/matteocorti/check_ssl_cert/releases/download/v2.84.5/check_ssl_cert-2.84.5.tar.gz
tar xfv check_ssl_cert-2.84.5.tar.gz

cp check_ssl_cert-2.84.5/check_ssl_cert /opt/openitc/nagios/libexec/
Setting Up a Custom Check
The plugin is executed via the openITCOCKPIT Monitoring Agent. Create a new check in the file /etc/openitcockpit-agent/customchecks.ini.
[SSL Certificate]
  command = /opt/openitc/nagios/libexec/check_ssl_cert -H localhost -f /etc/letsencrypt/live/next.openitcockpit.io/cert.pem -r /etc/letsencrypt/live/next.openitcockpit.io/fullchain.pem --warning 15 --critical 5
  interval = 3600
  timeout = 5
  enabled = true
To apply the changes, restart the Monitoring Agent. Note that file paths may need to be adjusted.
systemctl restart openitcockpit-agent.service
The custom check can then be added to openITCOCKPIT using the wizard.
openITCOCKPIT will now monitor the lifespan of the certificate.
